As you know, the Corona Virus that causes COVID-19 is spreading across the planet, straining supply chains and generally freaking everyone out. Parts that I do need will take longer to get in, but are still available. Shipping times are 2 to 4 times longer than is typical before the pandemic.
Stay safe everyone and I am still down in my basement, replacing capacitors, modding retro video game systems, and making videos. All of the of modifications that I can perform with the parts I have on hand are now showing in stock and all of my usual suppliers are still shipping. Thank you everyone for your continued business, I appreciate it.
I was thinking of posting something new, a “What’s on my bench” today videos. Nothing fancy or edited, just snippets of what I am working on. Some of the projects are from patrons, but some will be my own projects, once I clear out my backlog. If anyone out there would like me to do a tear down or evaluation of a system, even if no modifications are needed, or you just want to donate something to learn more about how it works, let me know.
In the works:
Game.com audio repair (almost complete, too many damn screws). I need to do a wrap up video on that one. (patron)
Atari 7800 and Colecovision S-video and Audio out modifications. My first Colecovision mod, I have an Adam, but never worked on a Coleco. My 4th(?) 7800 so far. (patron)
Game.com Pocket Pro Teardown. (patron and my curiosity)
Intellevision repair, video out mod. (Donated by Alan of Alan 9000 fame. Thanks Alan!)
Game.com back light experiment. (Mine)
Repair my Adam. (Mine)
Build an ambidextrous arcade stick with quick orientation change. (Mine, inspired by a game night with my brother.)
Game.com screen replace with something better(Mine/Patron. Not sure if this will work.)
And I have a whole bookshelf full of little projects to work on. Giving me a goal will be good for my mental health and healing after a very difficult year.
I again want to thank all of my patrons who trust me with their repairs and modifications. James, Brandon, Brian, Phil, Cody, and anyone else I forgot in my inbox, thank you again for all of your kind words, patience, and support.
I don’t do this for the money, I do it for the love of repairing these old systems to better than new. The money is nice, don’t get me wrong, but I try to price everything fairly, so I am not taking business away from folks who do this for a living. Professionally, I am an engineer with over 20 years of experience and I do this to relax and learn, and pay for my hobbies, not to put food on the table. I would hate to undercut someone who depends on repair incomes. As you can tell, I specialize in the oddballs and systems long forgotten, like the 5200. Game.com, Colecovision, etc. I suppose I could make custom GameBoy advances and whatnot, but there are a lot of other modders out there who will do that day in and day out and that would be too much like work.
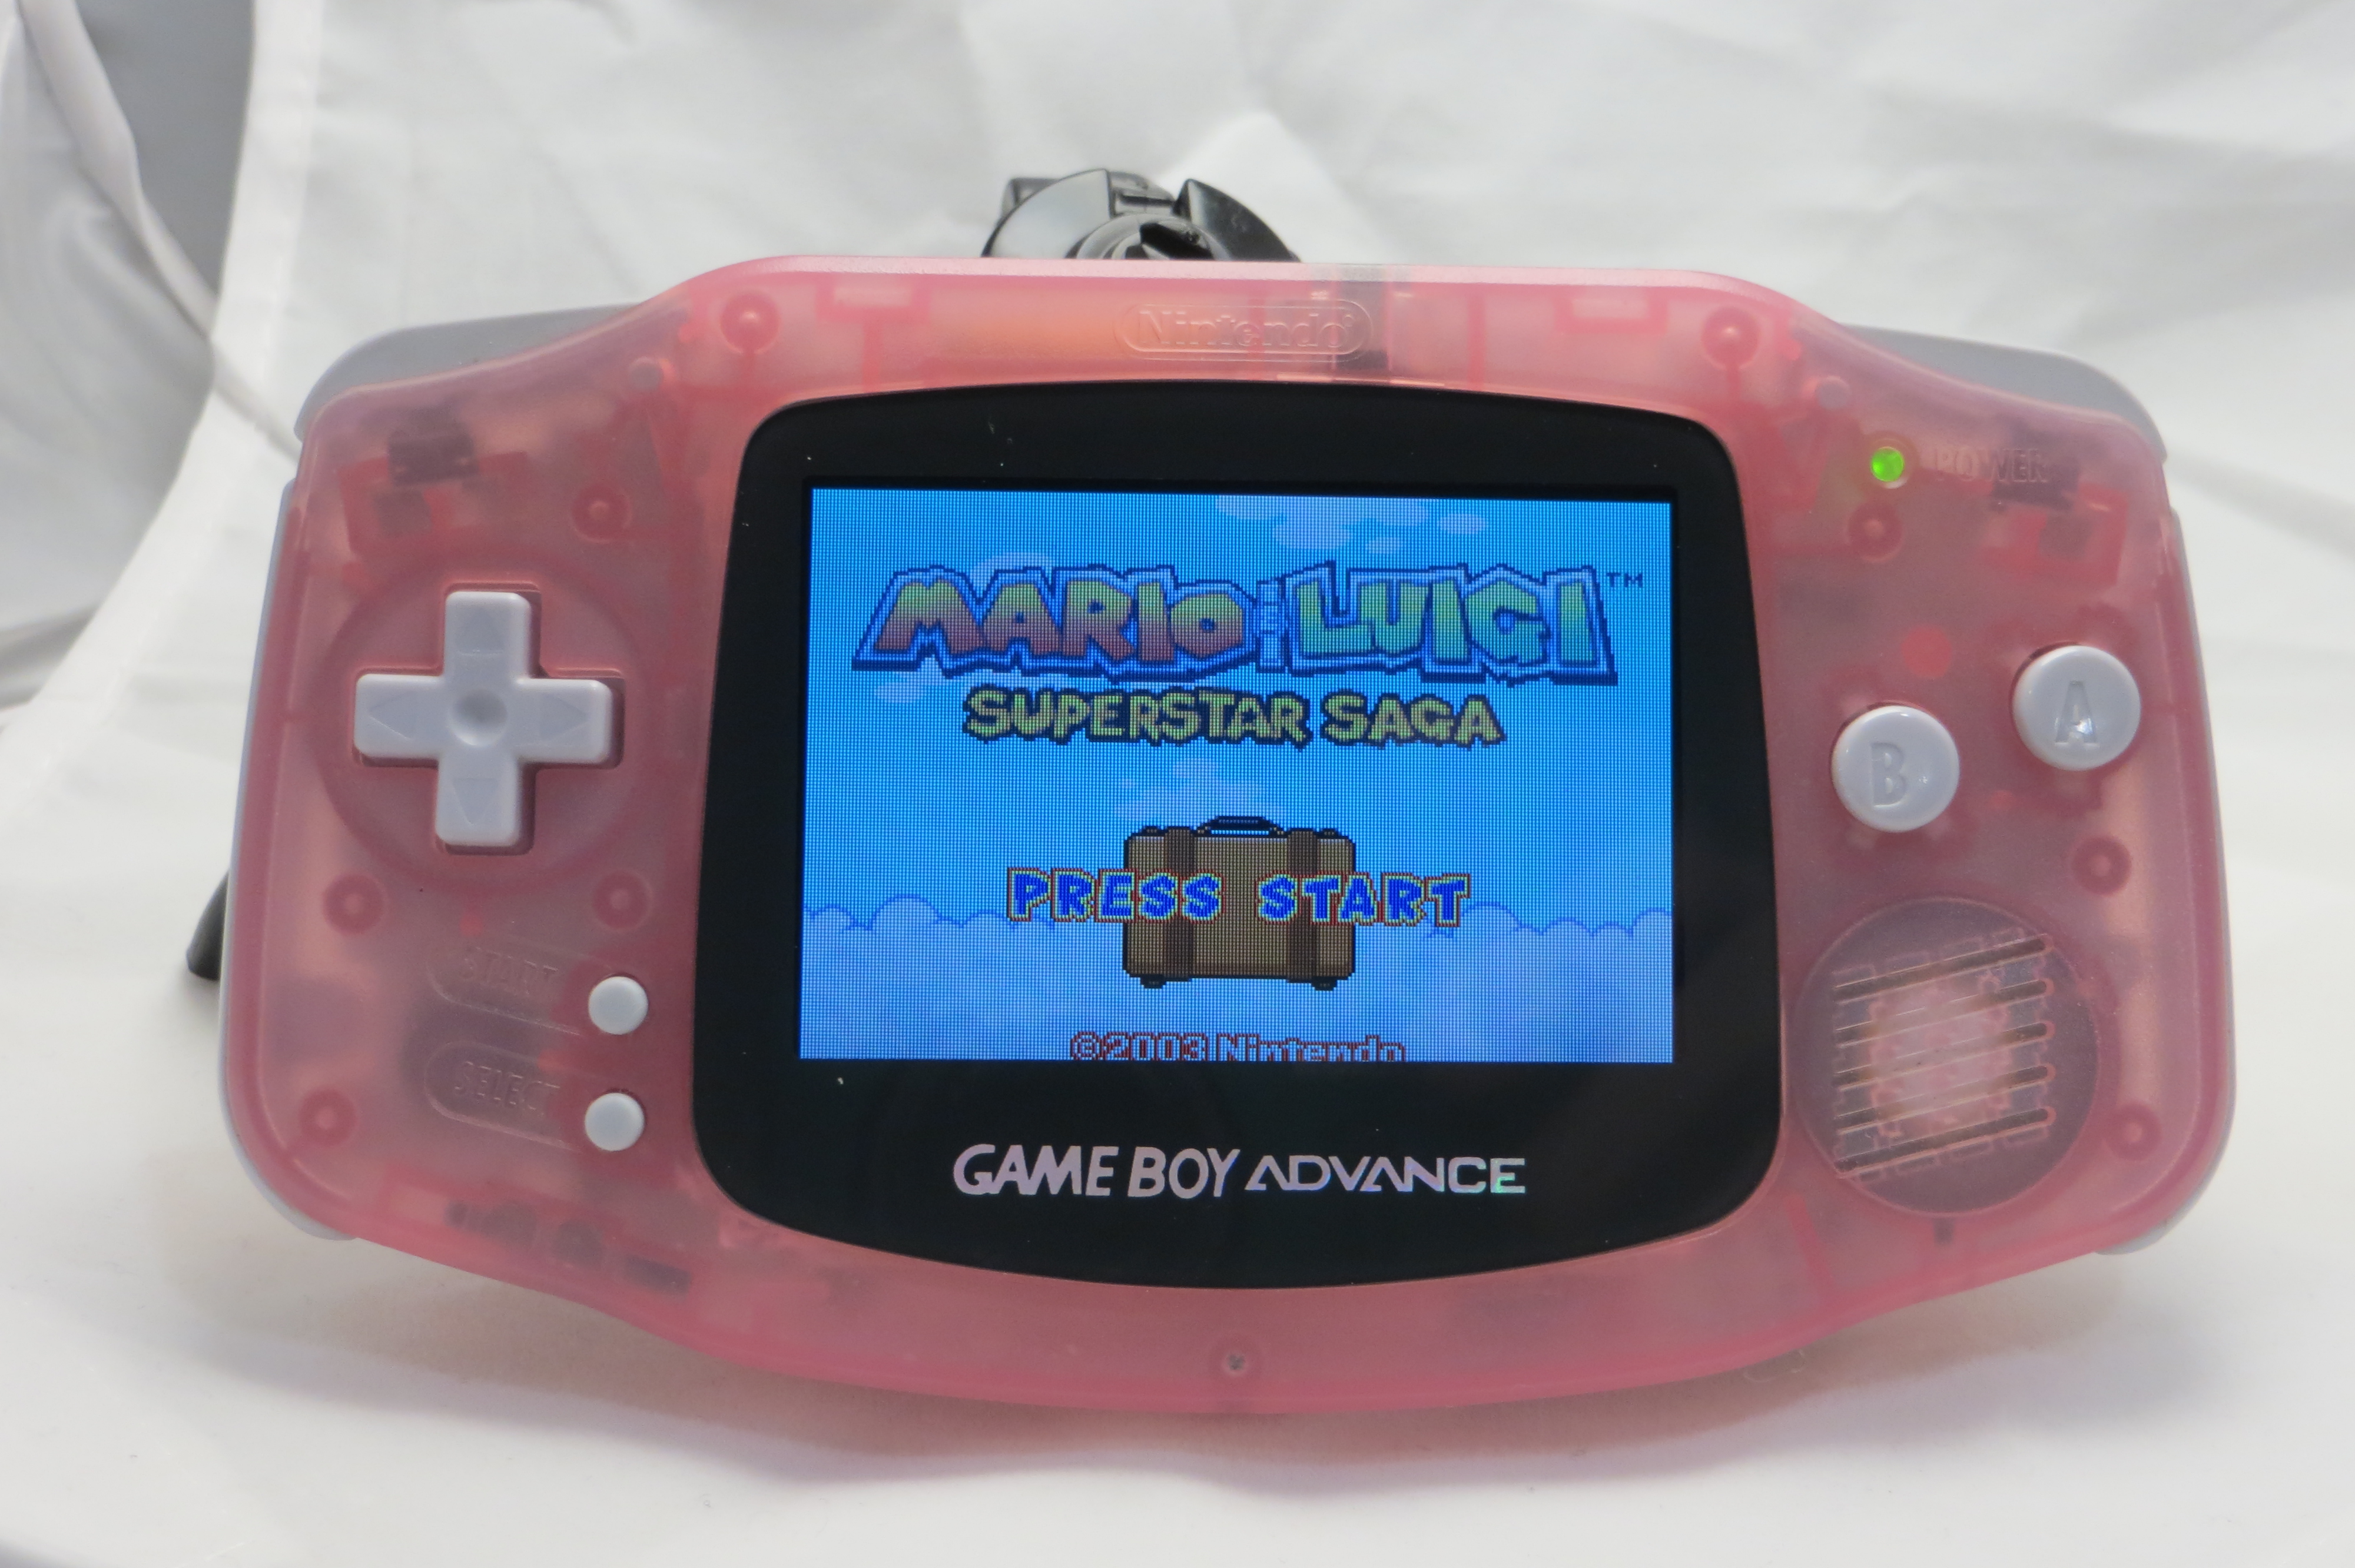
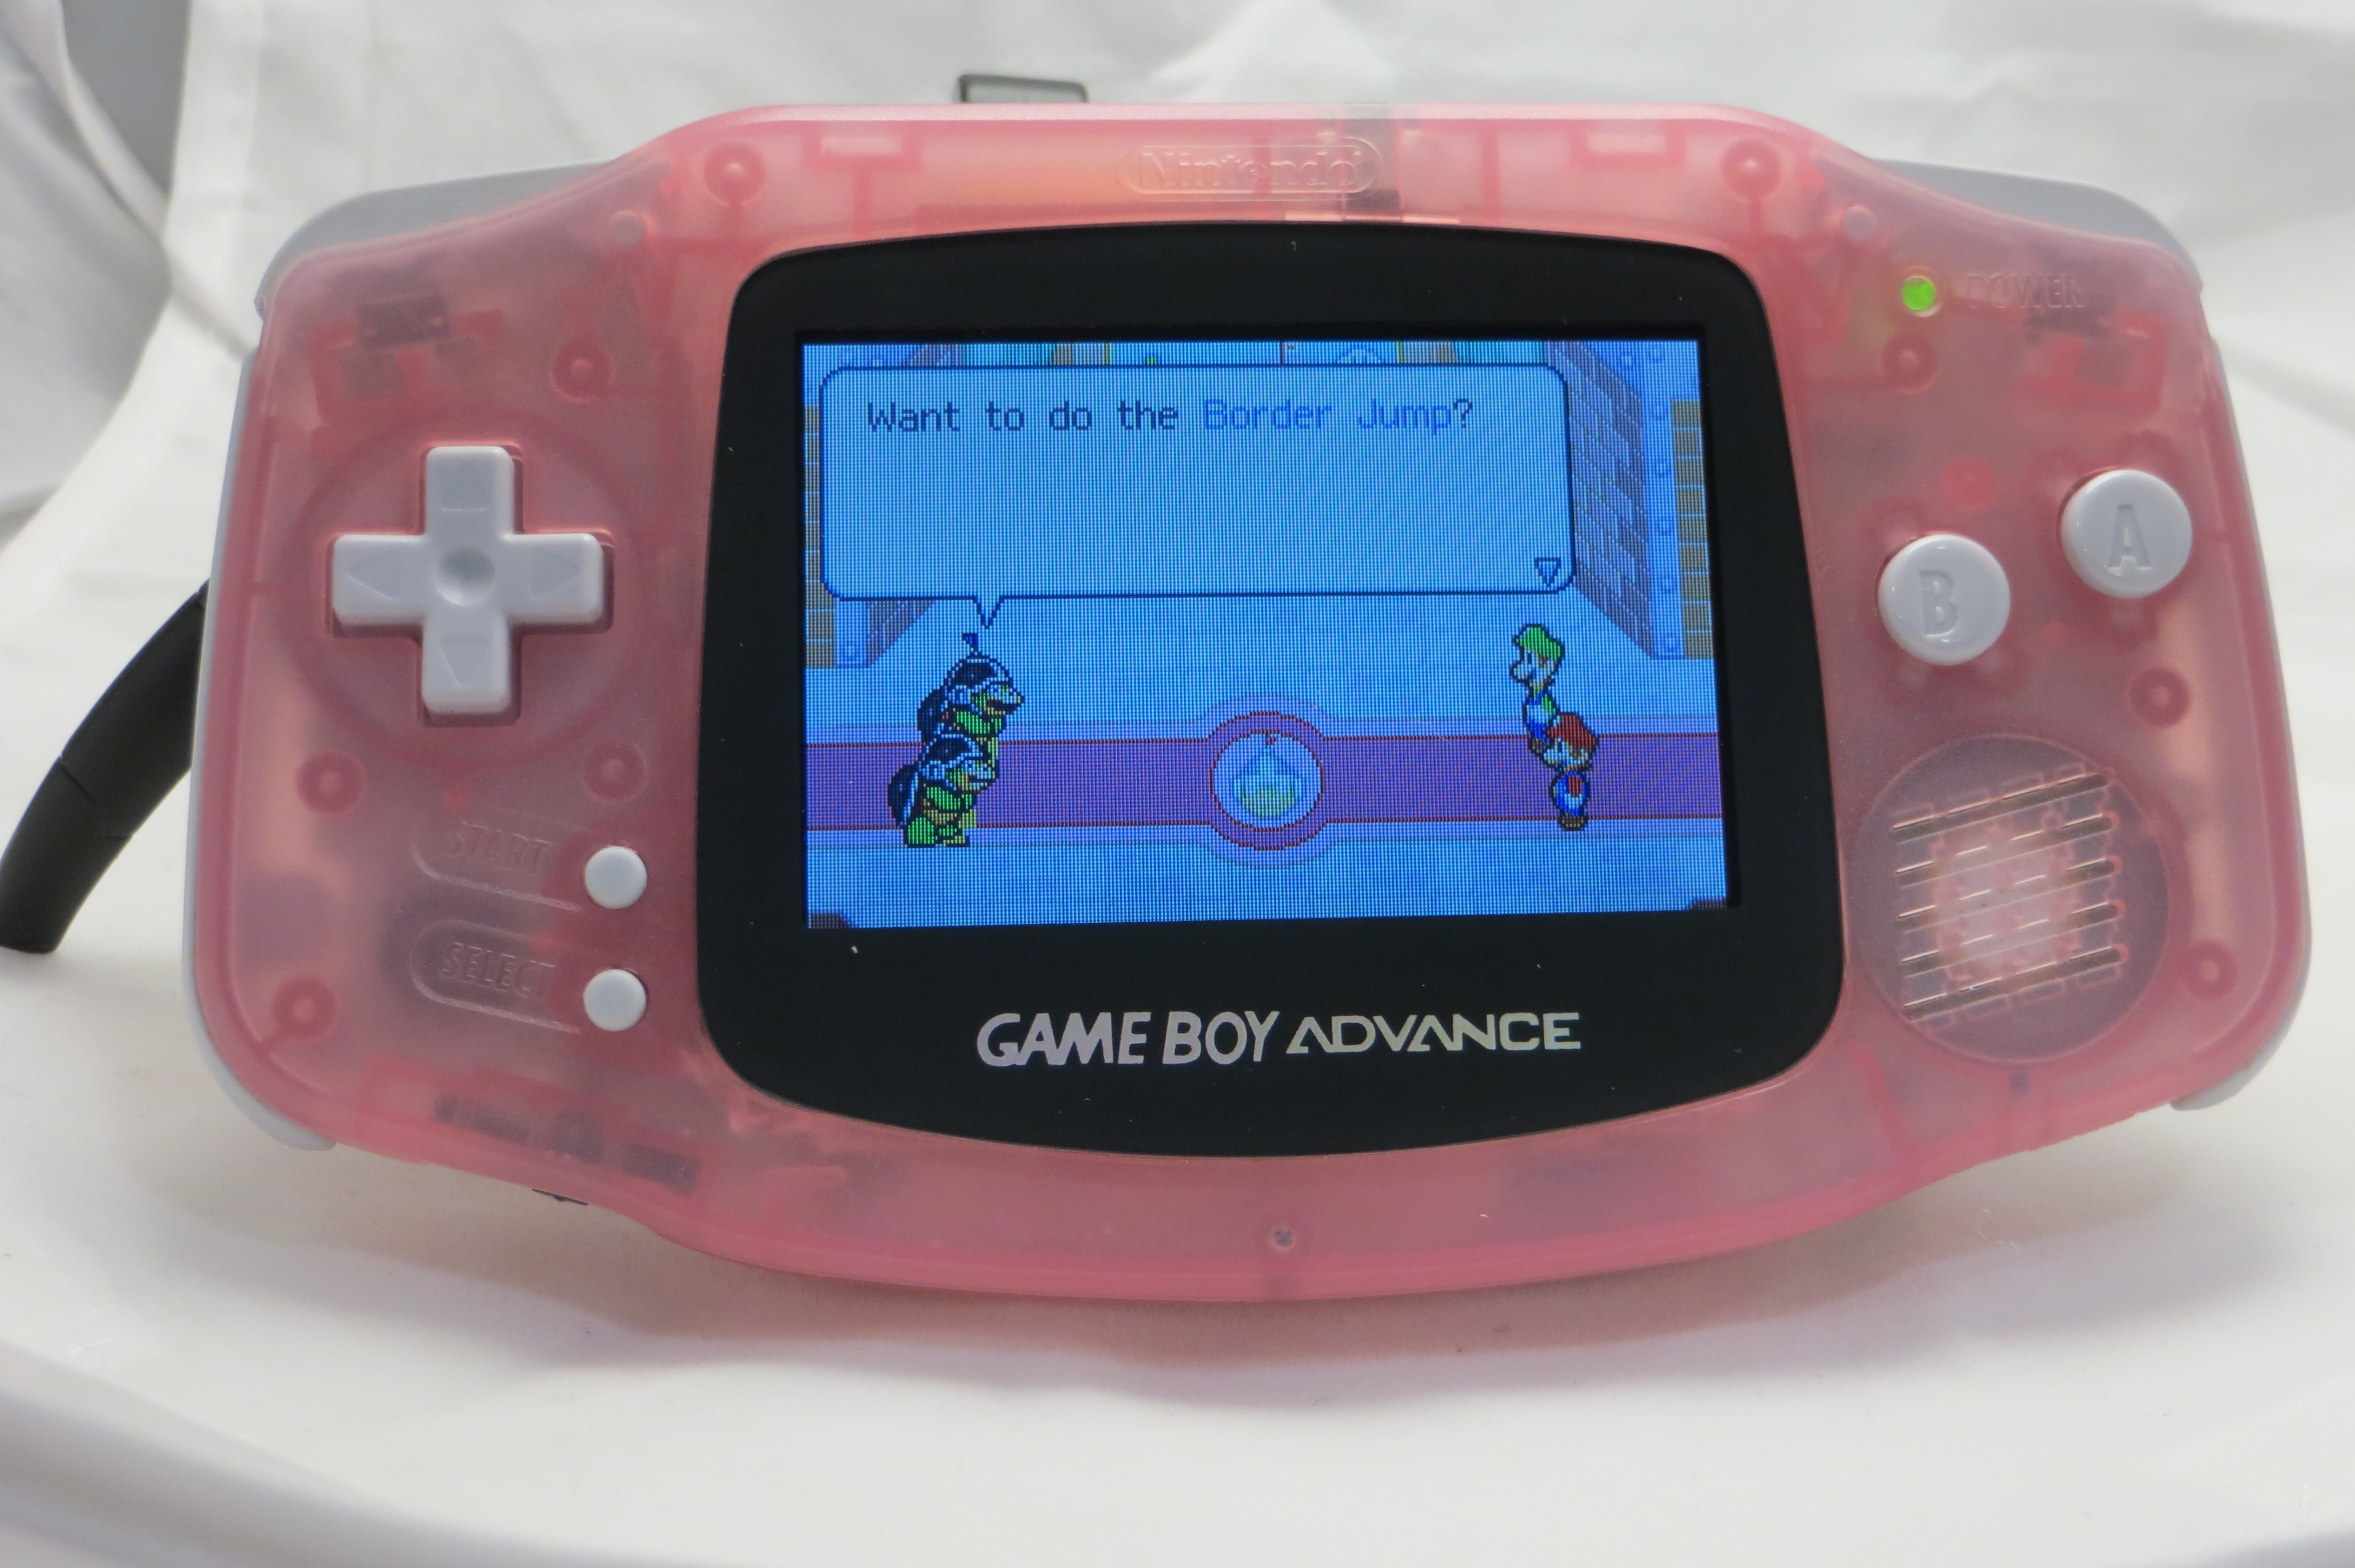
As always, my younger brother loves to throw new projects at me, in this case, a Gameboy Advance, AGB-001, aka, the one with the useless color screen. Previously, someone had installed a frontlight, that was way too bright and uneven. Fortunately, you can install the screen from the Gameboy Advance SP, second generation, with a little plastic modification. There are many sites that detail how to do it yourself, or I can do it for you, *wink*.
Thankfully, I actually have an x-y milling setup in my workshop, so modifying the housing was straightforward, but I don’t envy people who have to do it with nippers and a razor, yikes. The results are pretty amazing, so much so, I purchased a GBA a few days ago to do the mod myself. I like the form factor a lot and want to be able to play the gamut of Game Boy games on an amazing screen. I posted a video above, on my own personal machine.
I am tempted to add a pre-modded GBA as a standard product. Let me know in the comments if there is any interest.
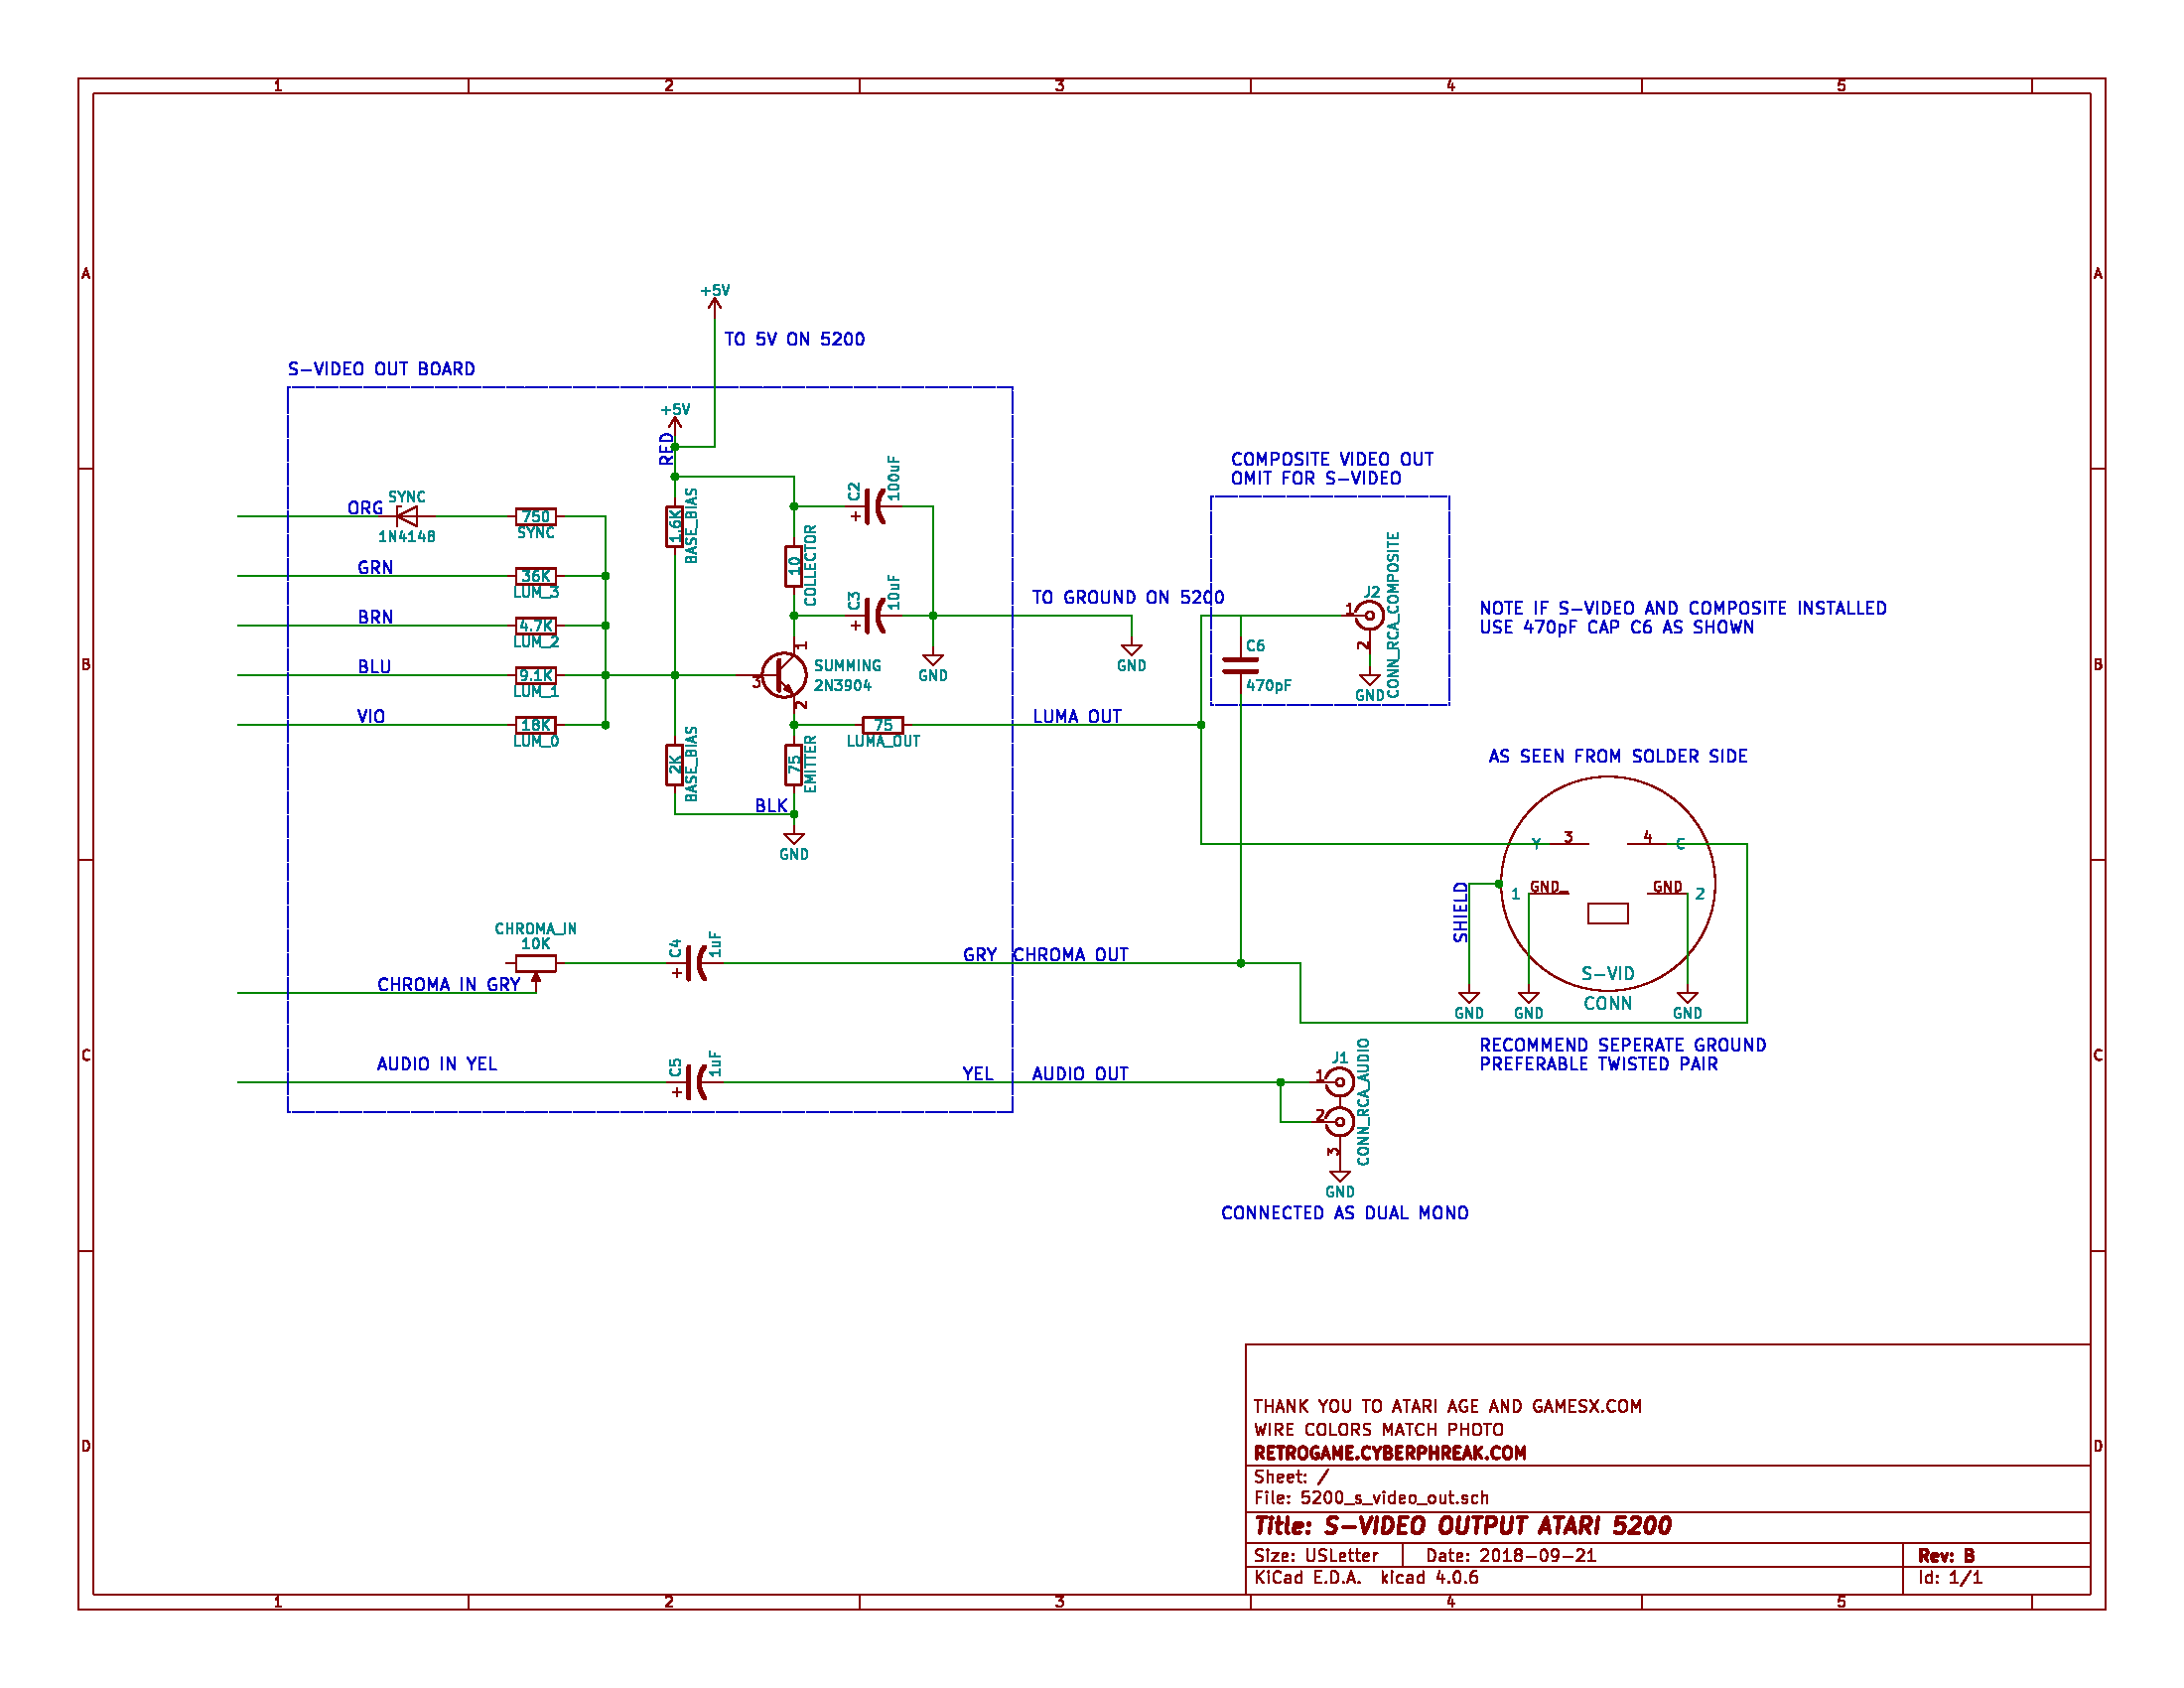
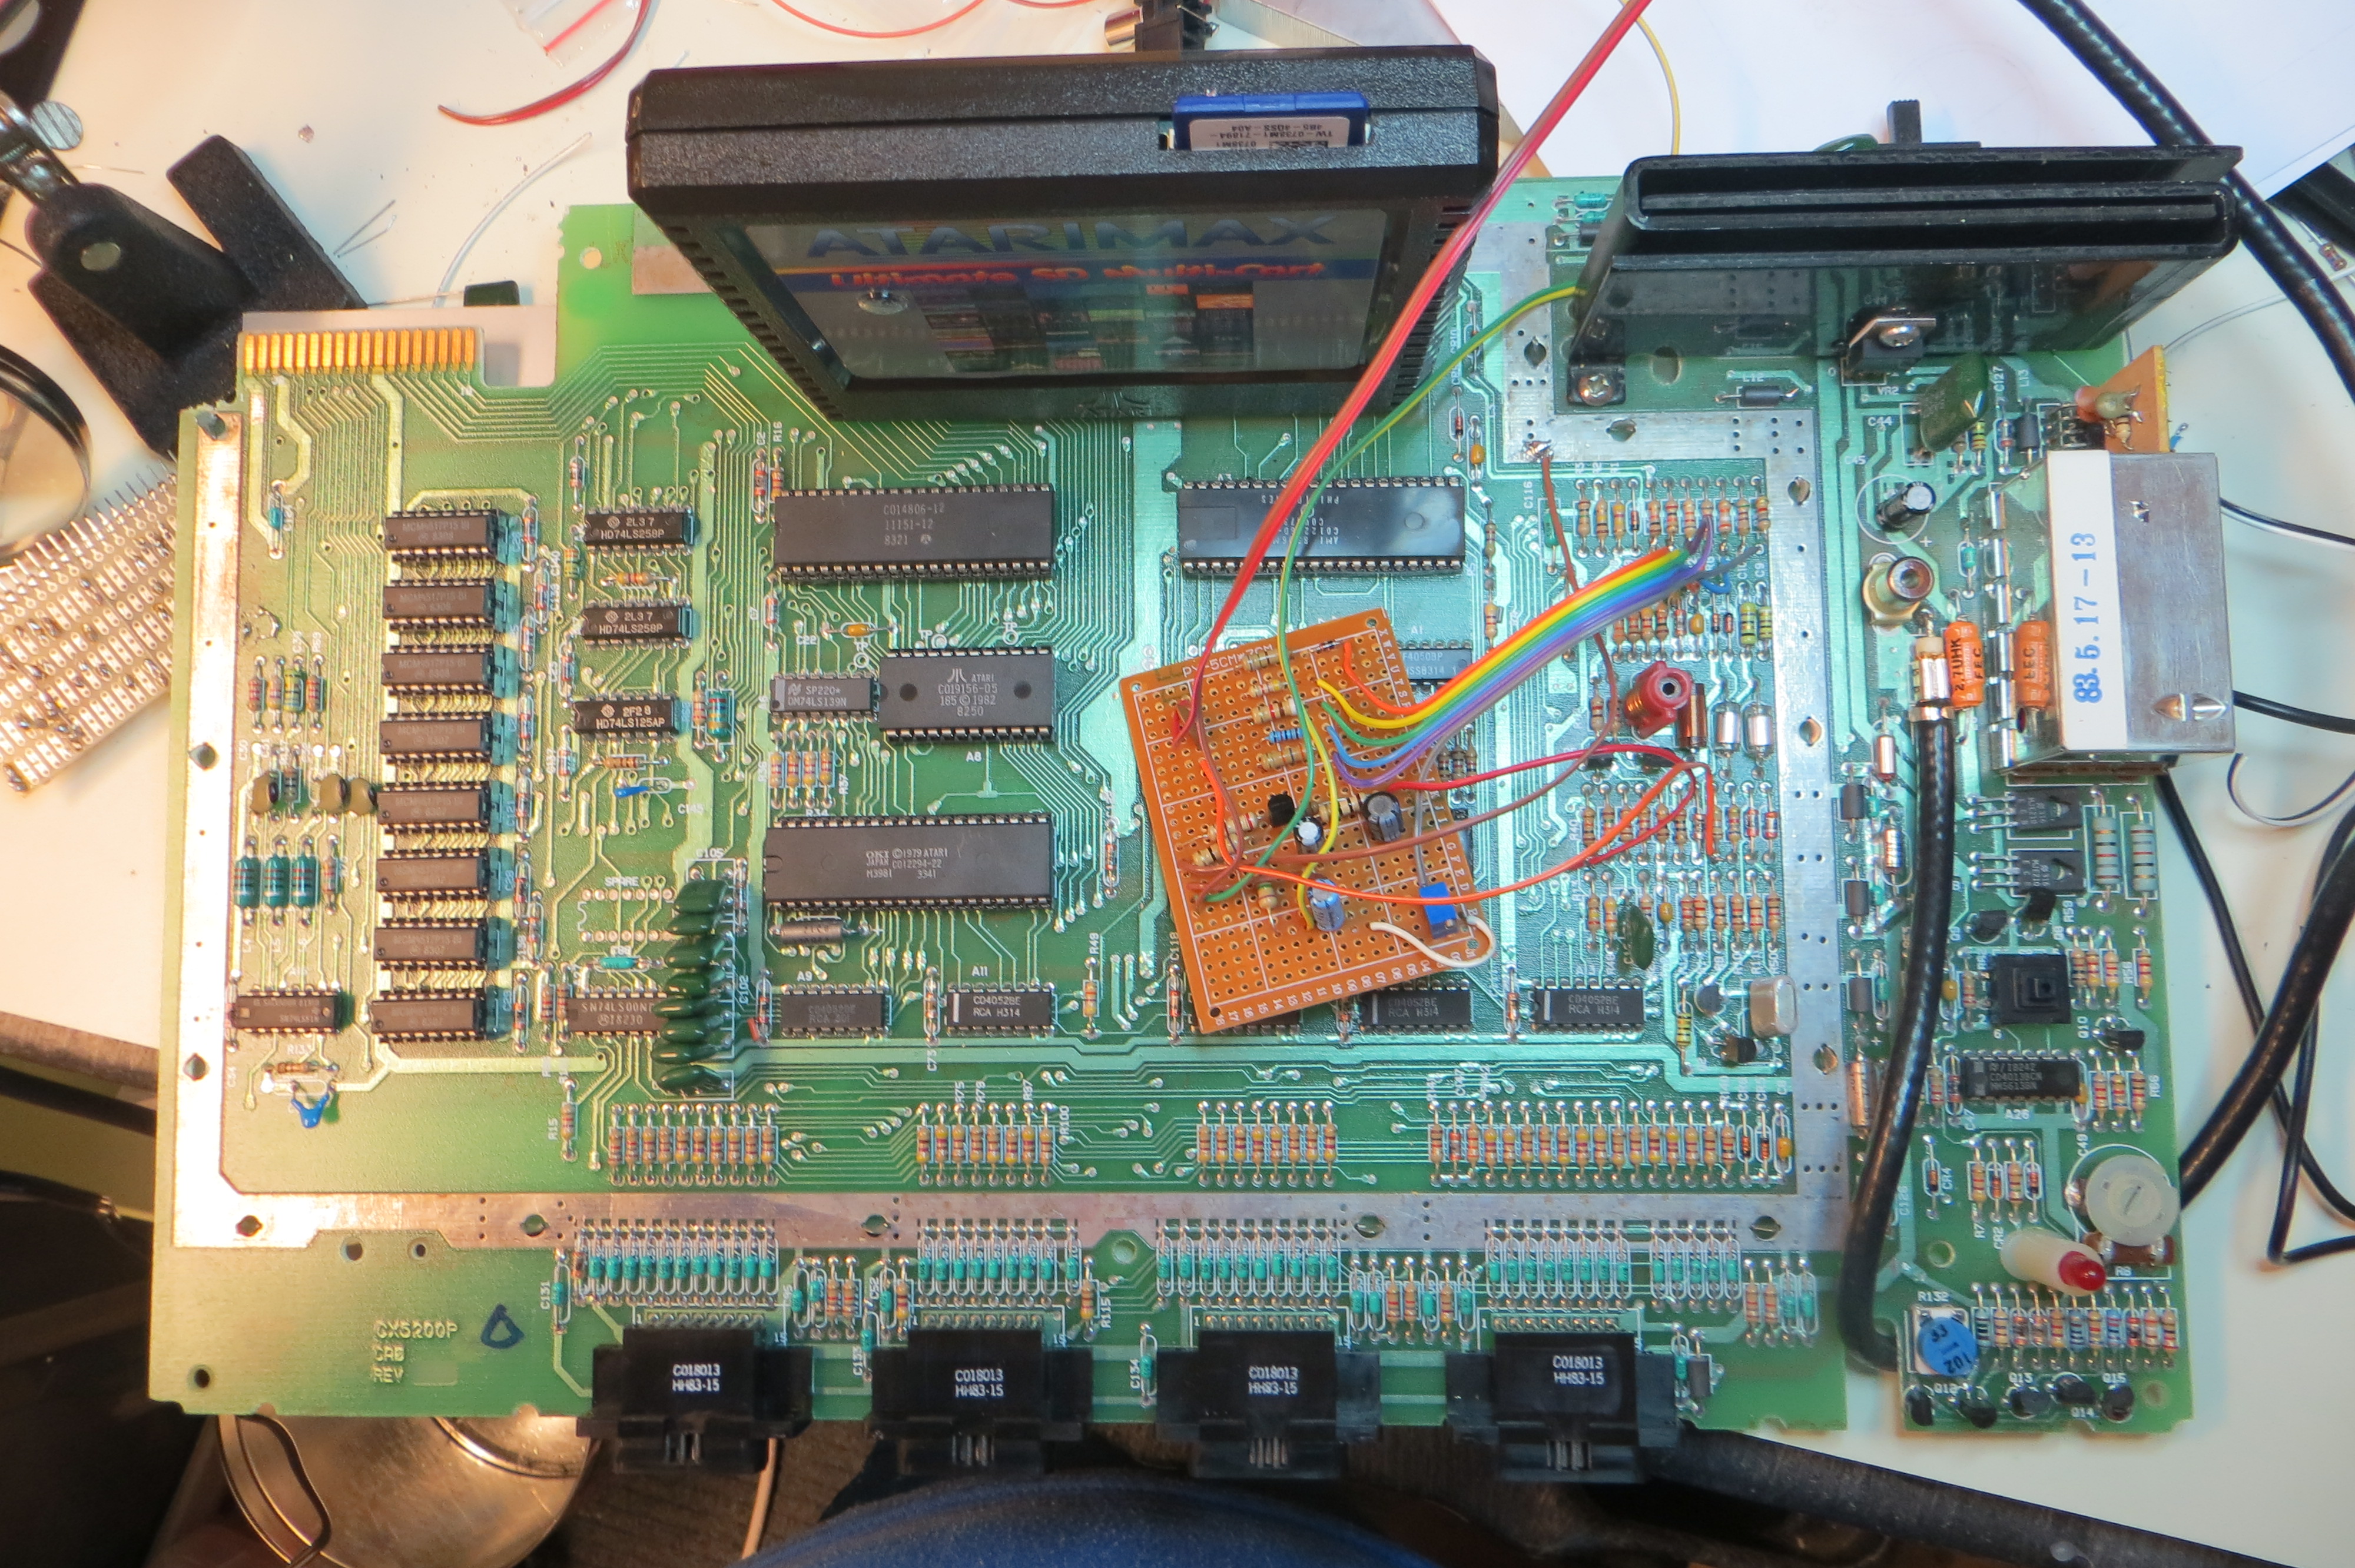
I was successfully able to mod an Atari 5200, 4 port, original console. It was quite a challenge, but what I did discover is there are not many resources out there for modding the 5200. Below is a schematic of the circuit that worked for me:
PDF: 5200_s_vid_REV_B
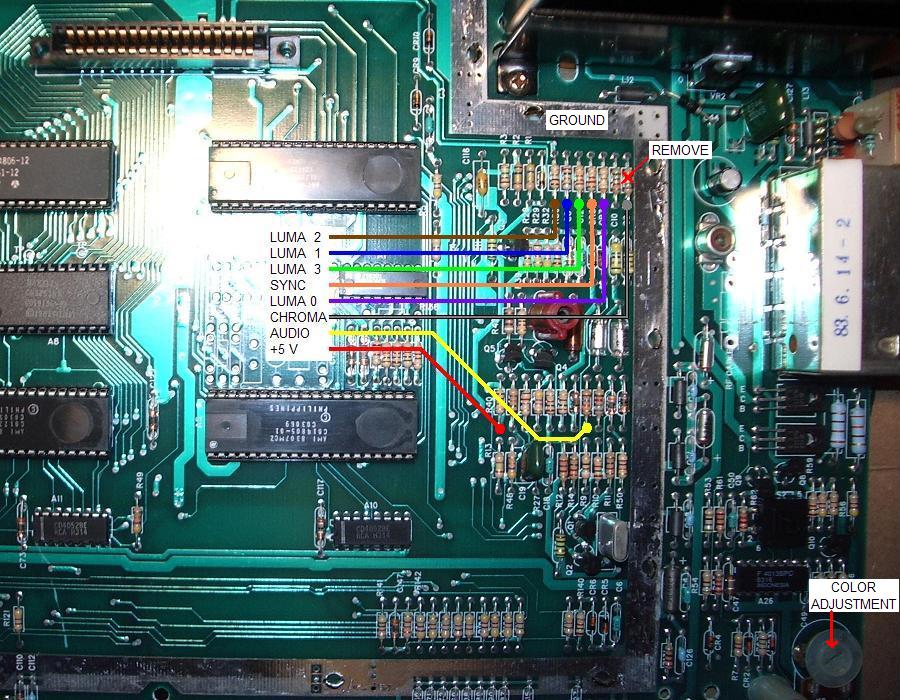
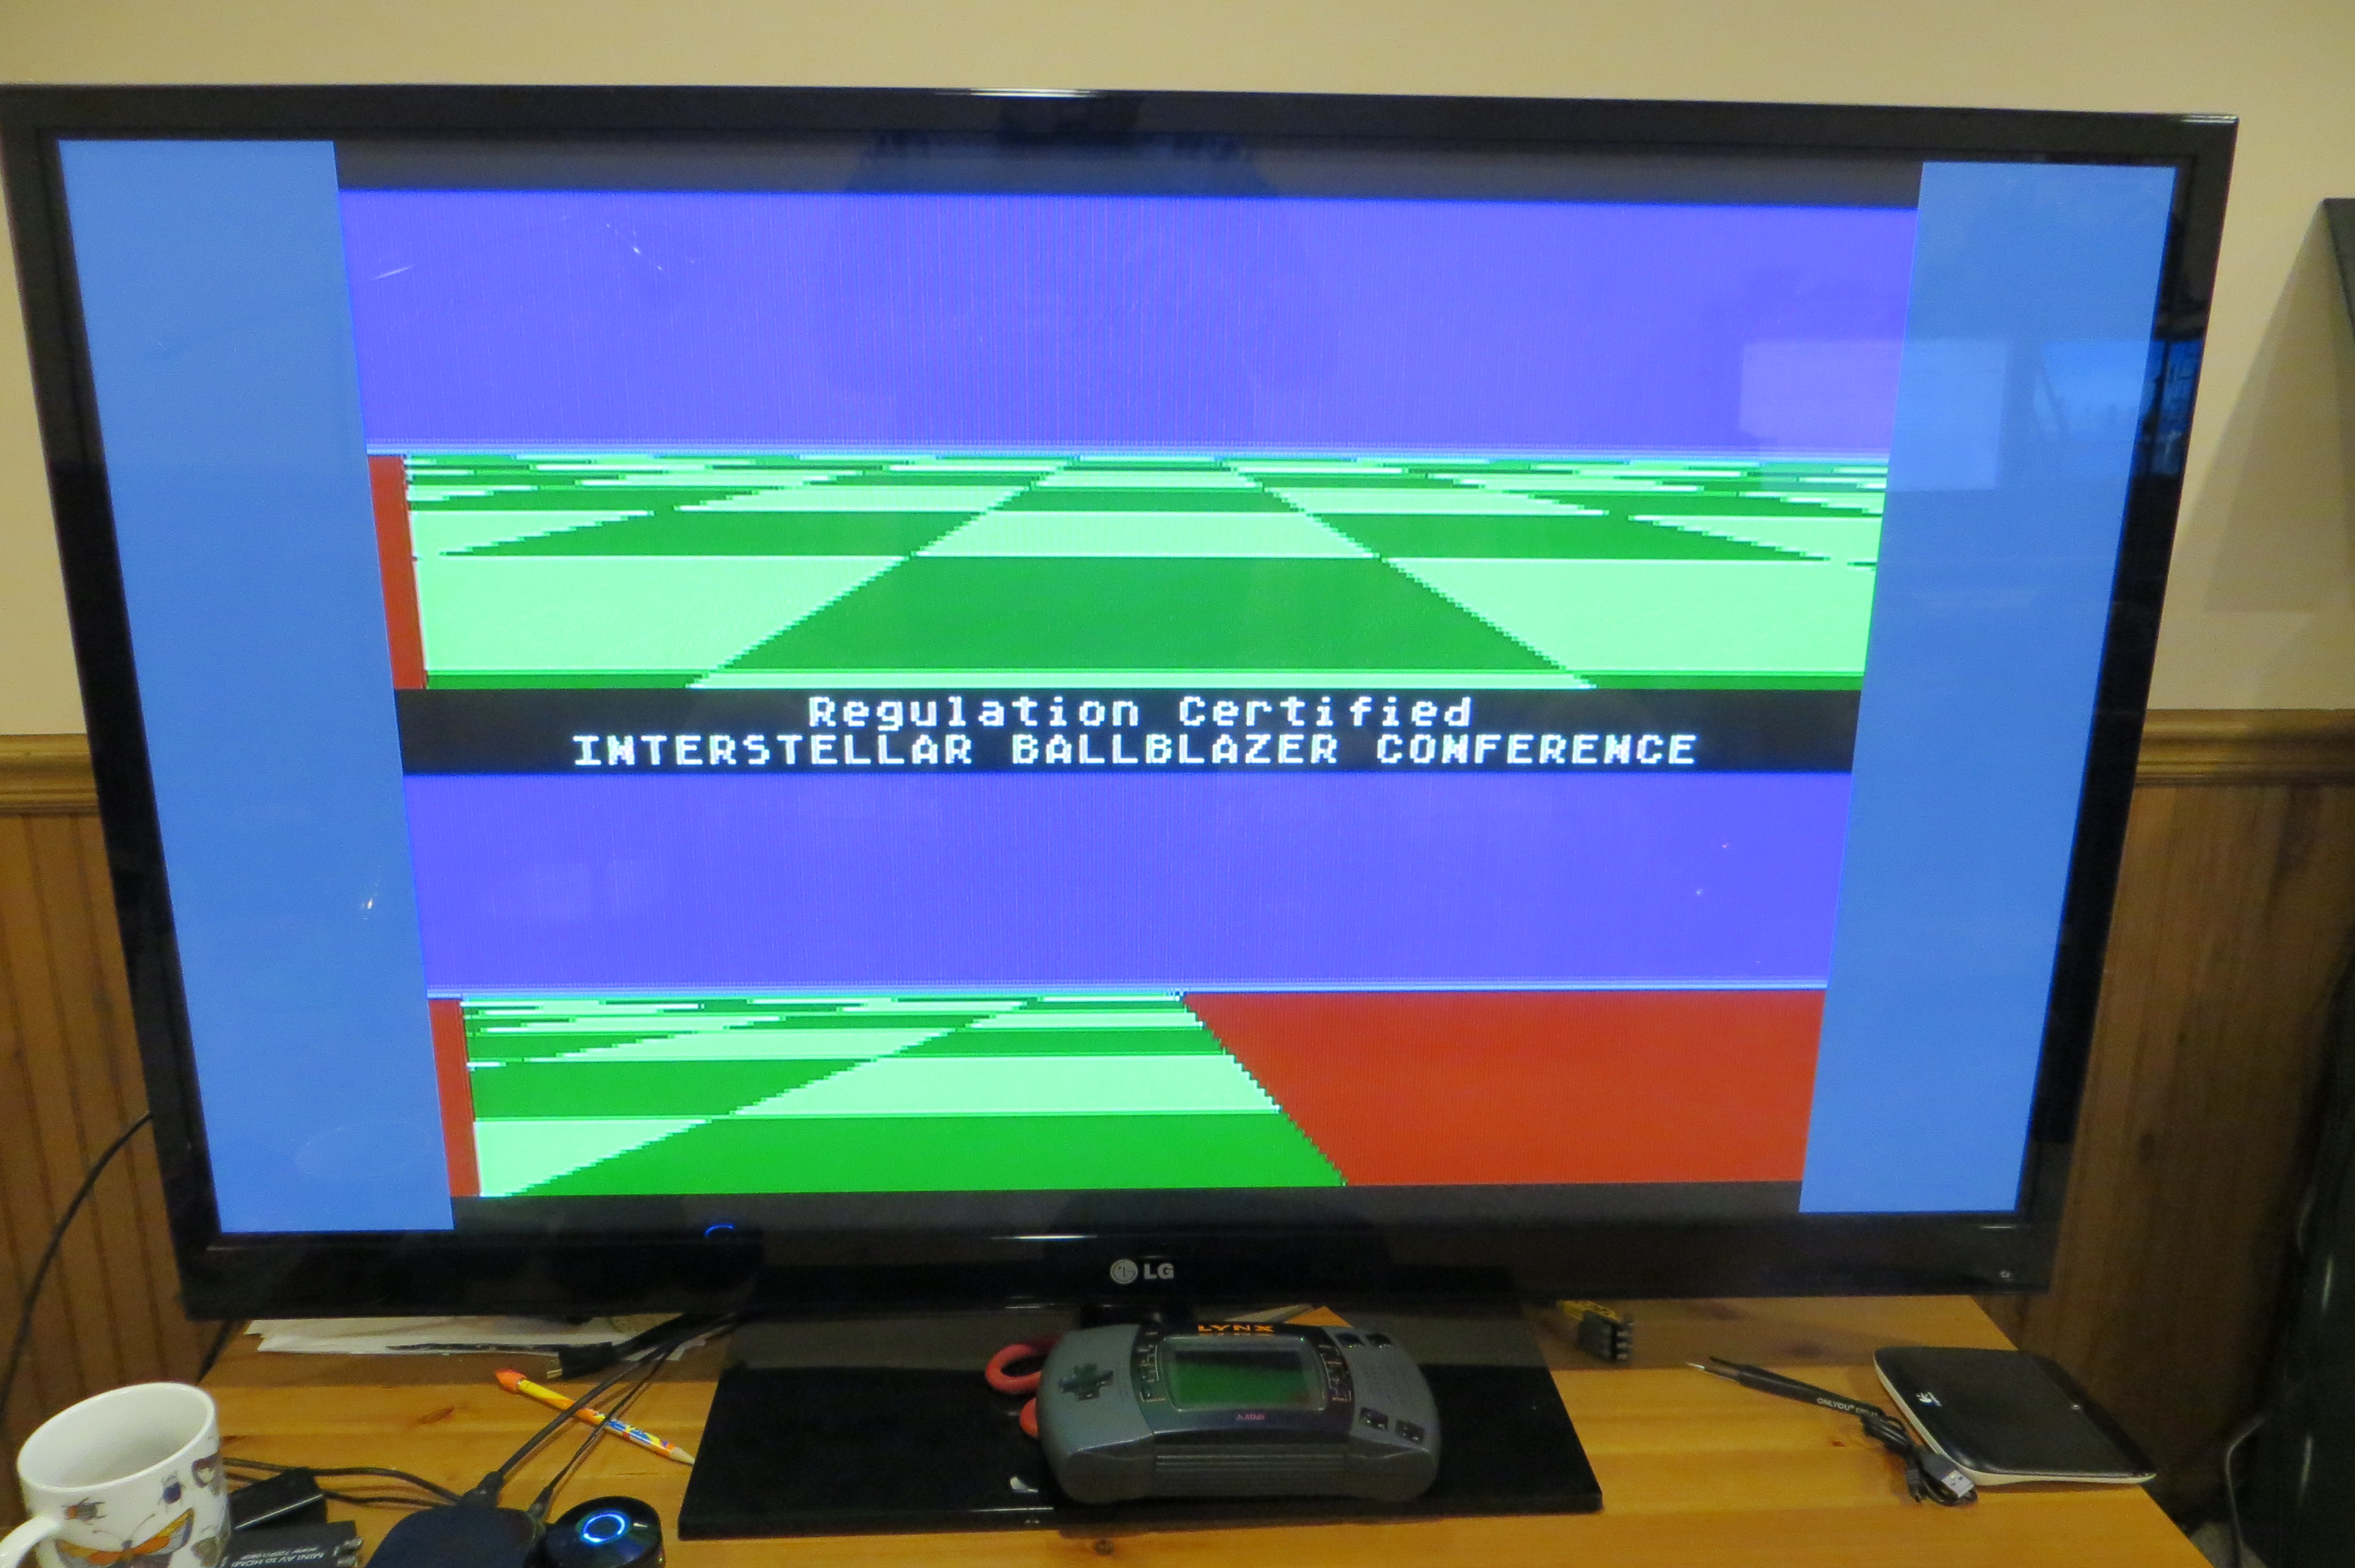
This version of the 5200 video out differs in one respect, I replaced the fixed 2K Ohm resistor on the Chroma line and replaced it with a 10K, 20 turn potentiometer. I found I was able to adjust this pot until noise was more or less eliminated from the composite video. It may not be needed with S-Video. Another adjustment is on the 5200 board. There is a large potentiometer in the lower right quadrant that is the color adjust. I loaded up Ballblazer and adjusted the colors to what I thought looked most accurate.
Ballblazer. Color adjusted and you can see how clean the signal is over composite.
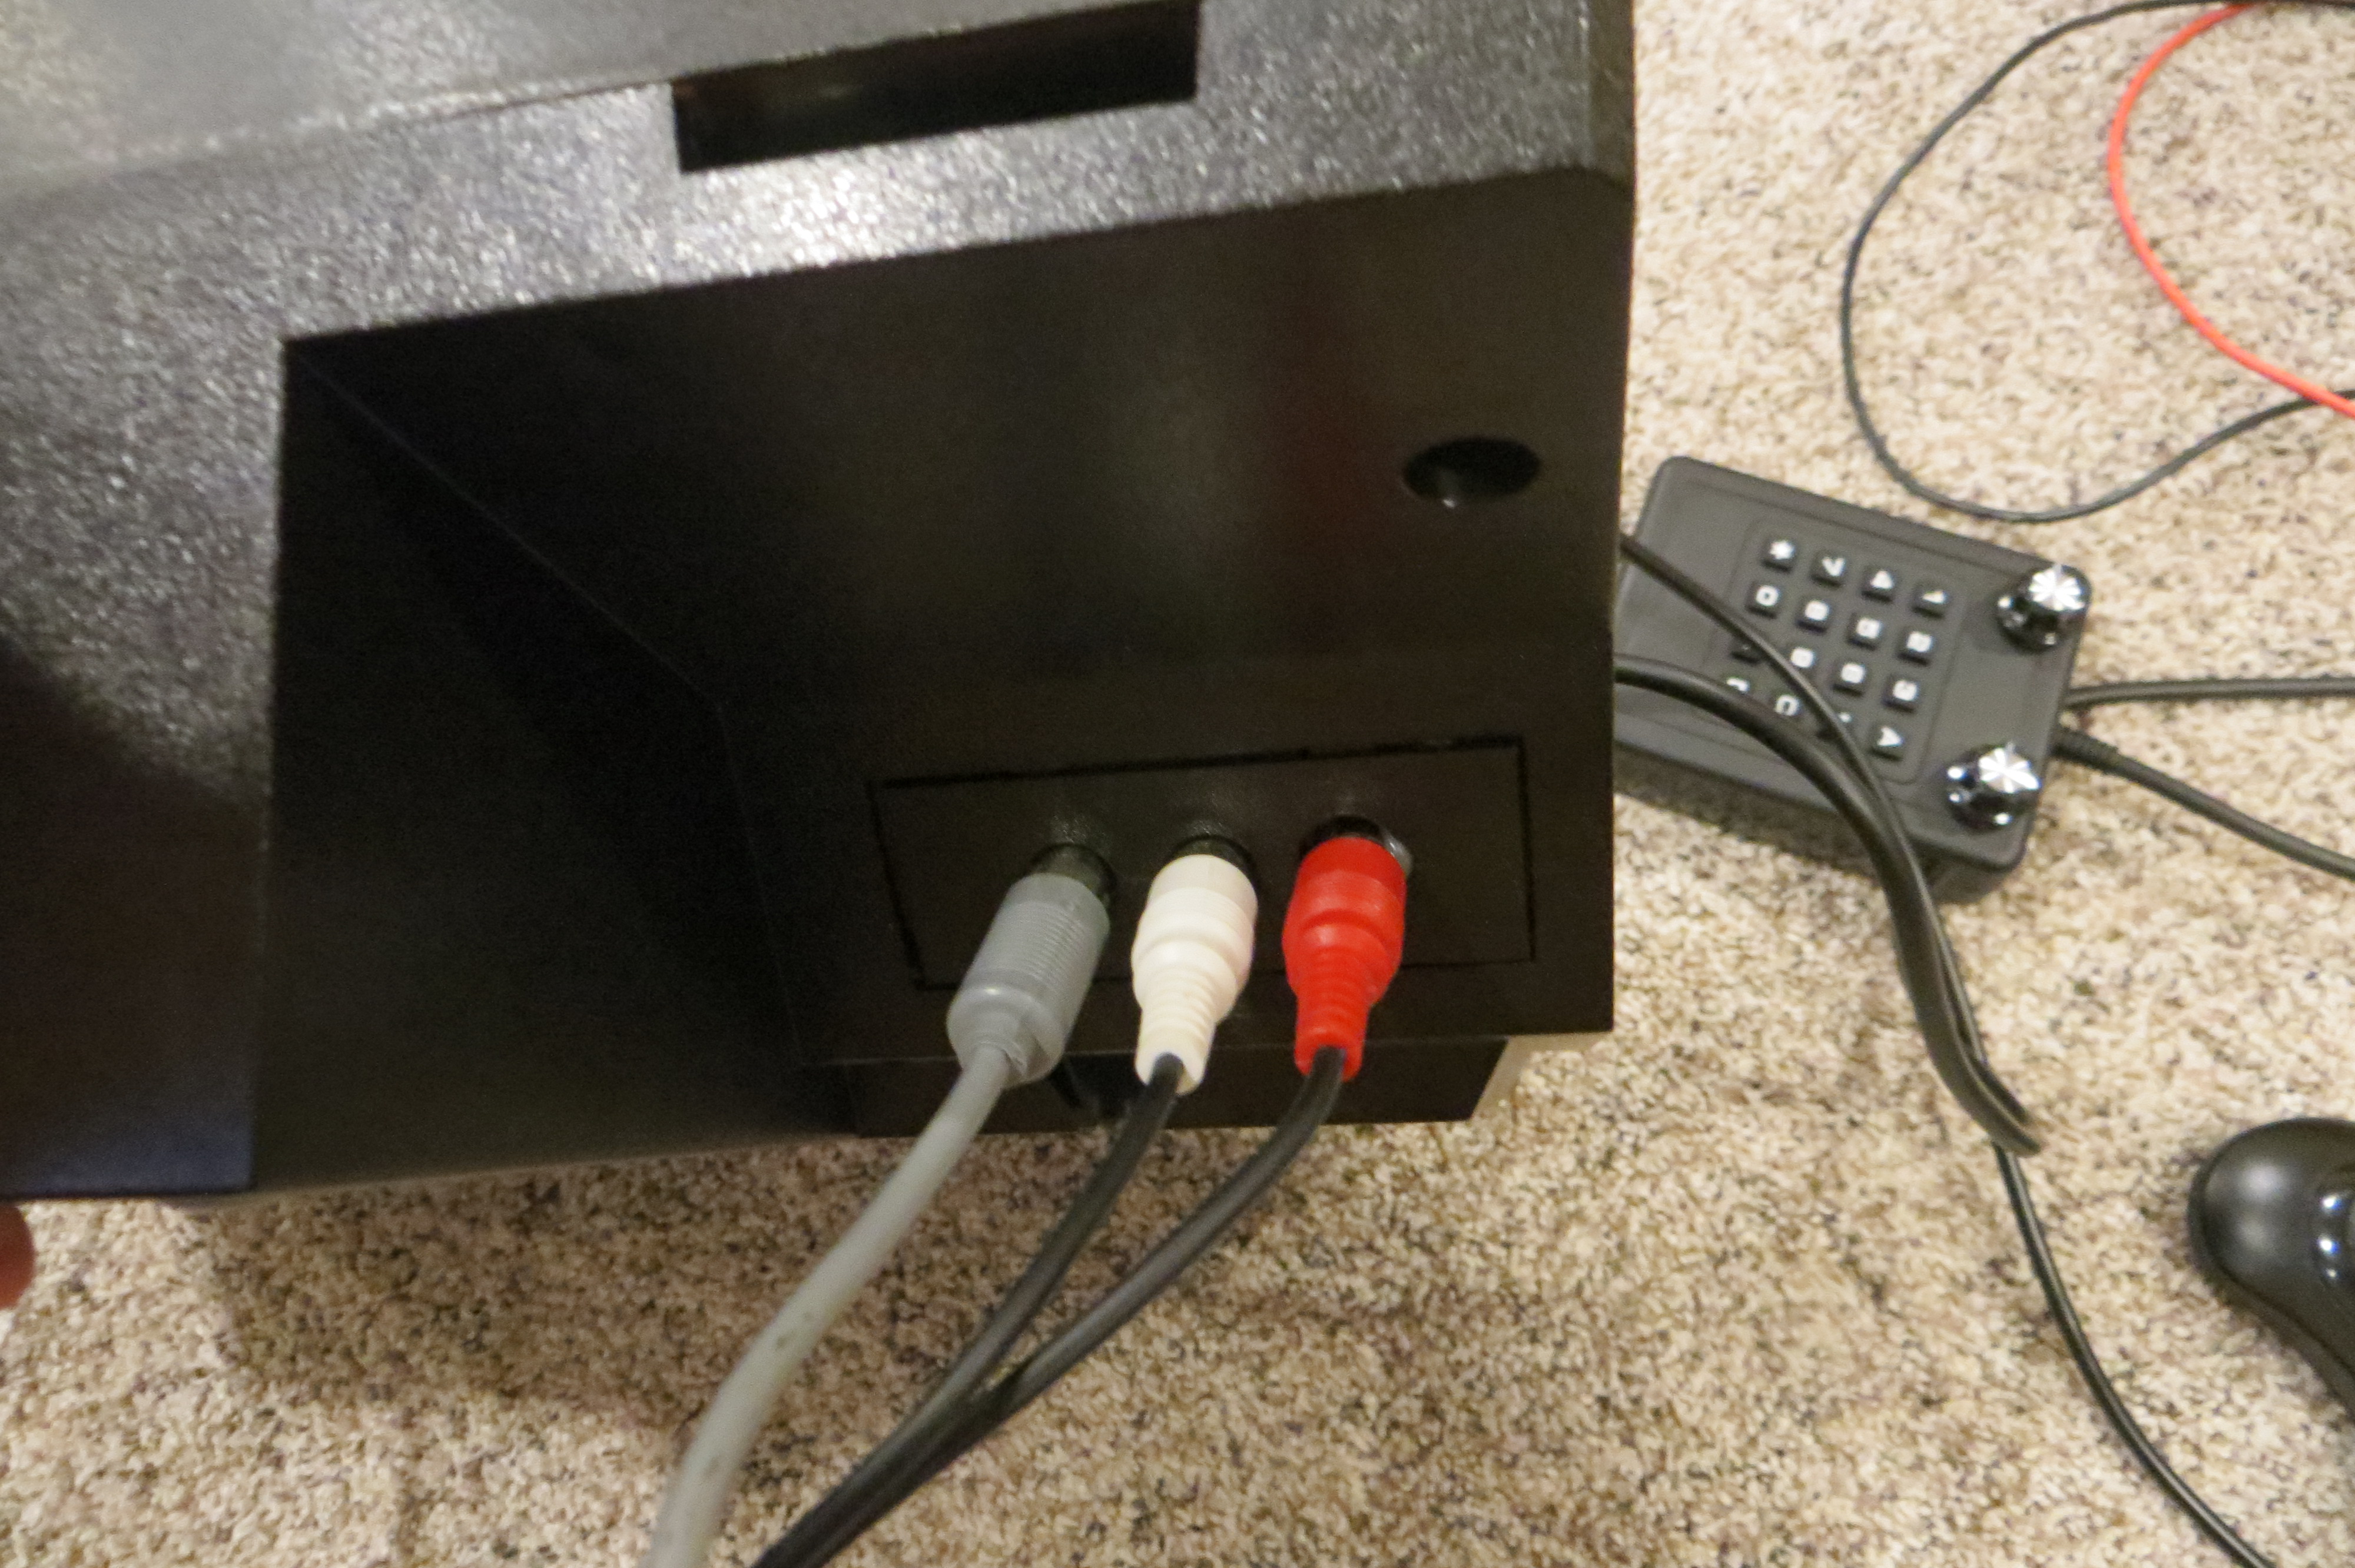
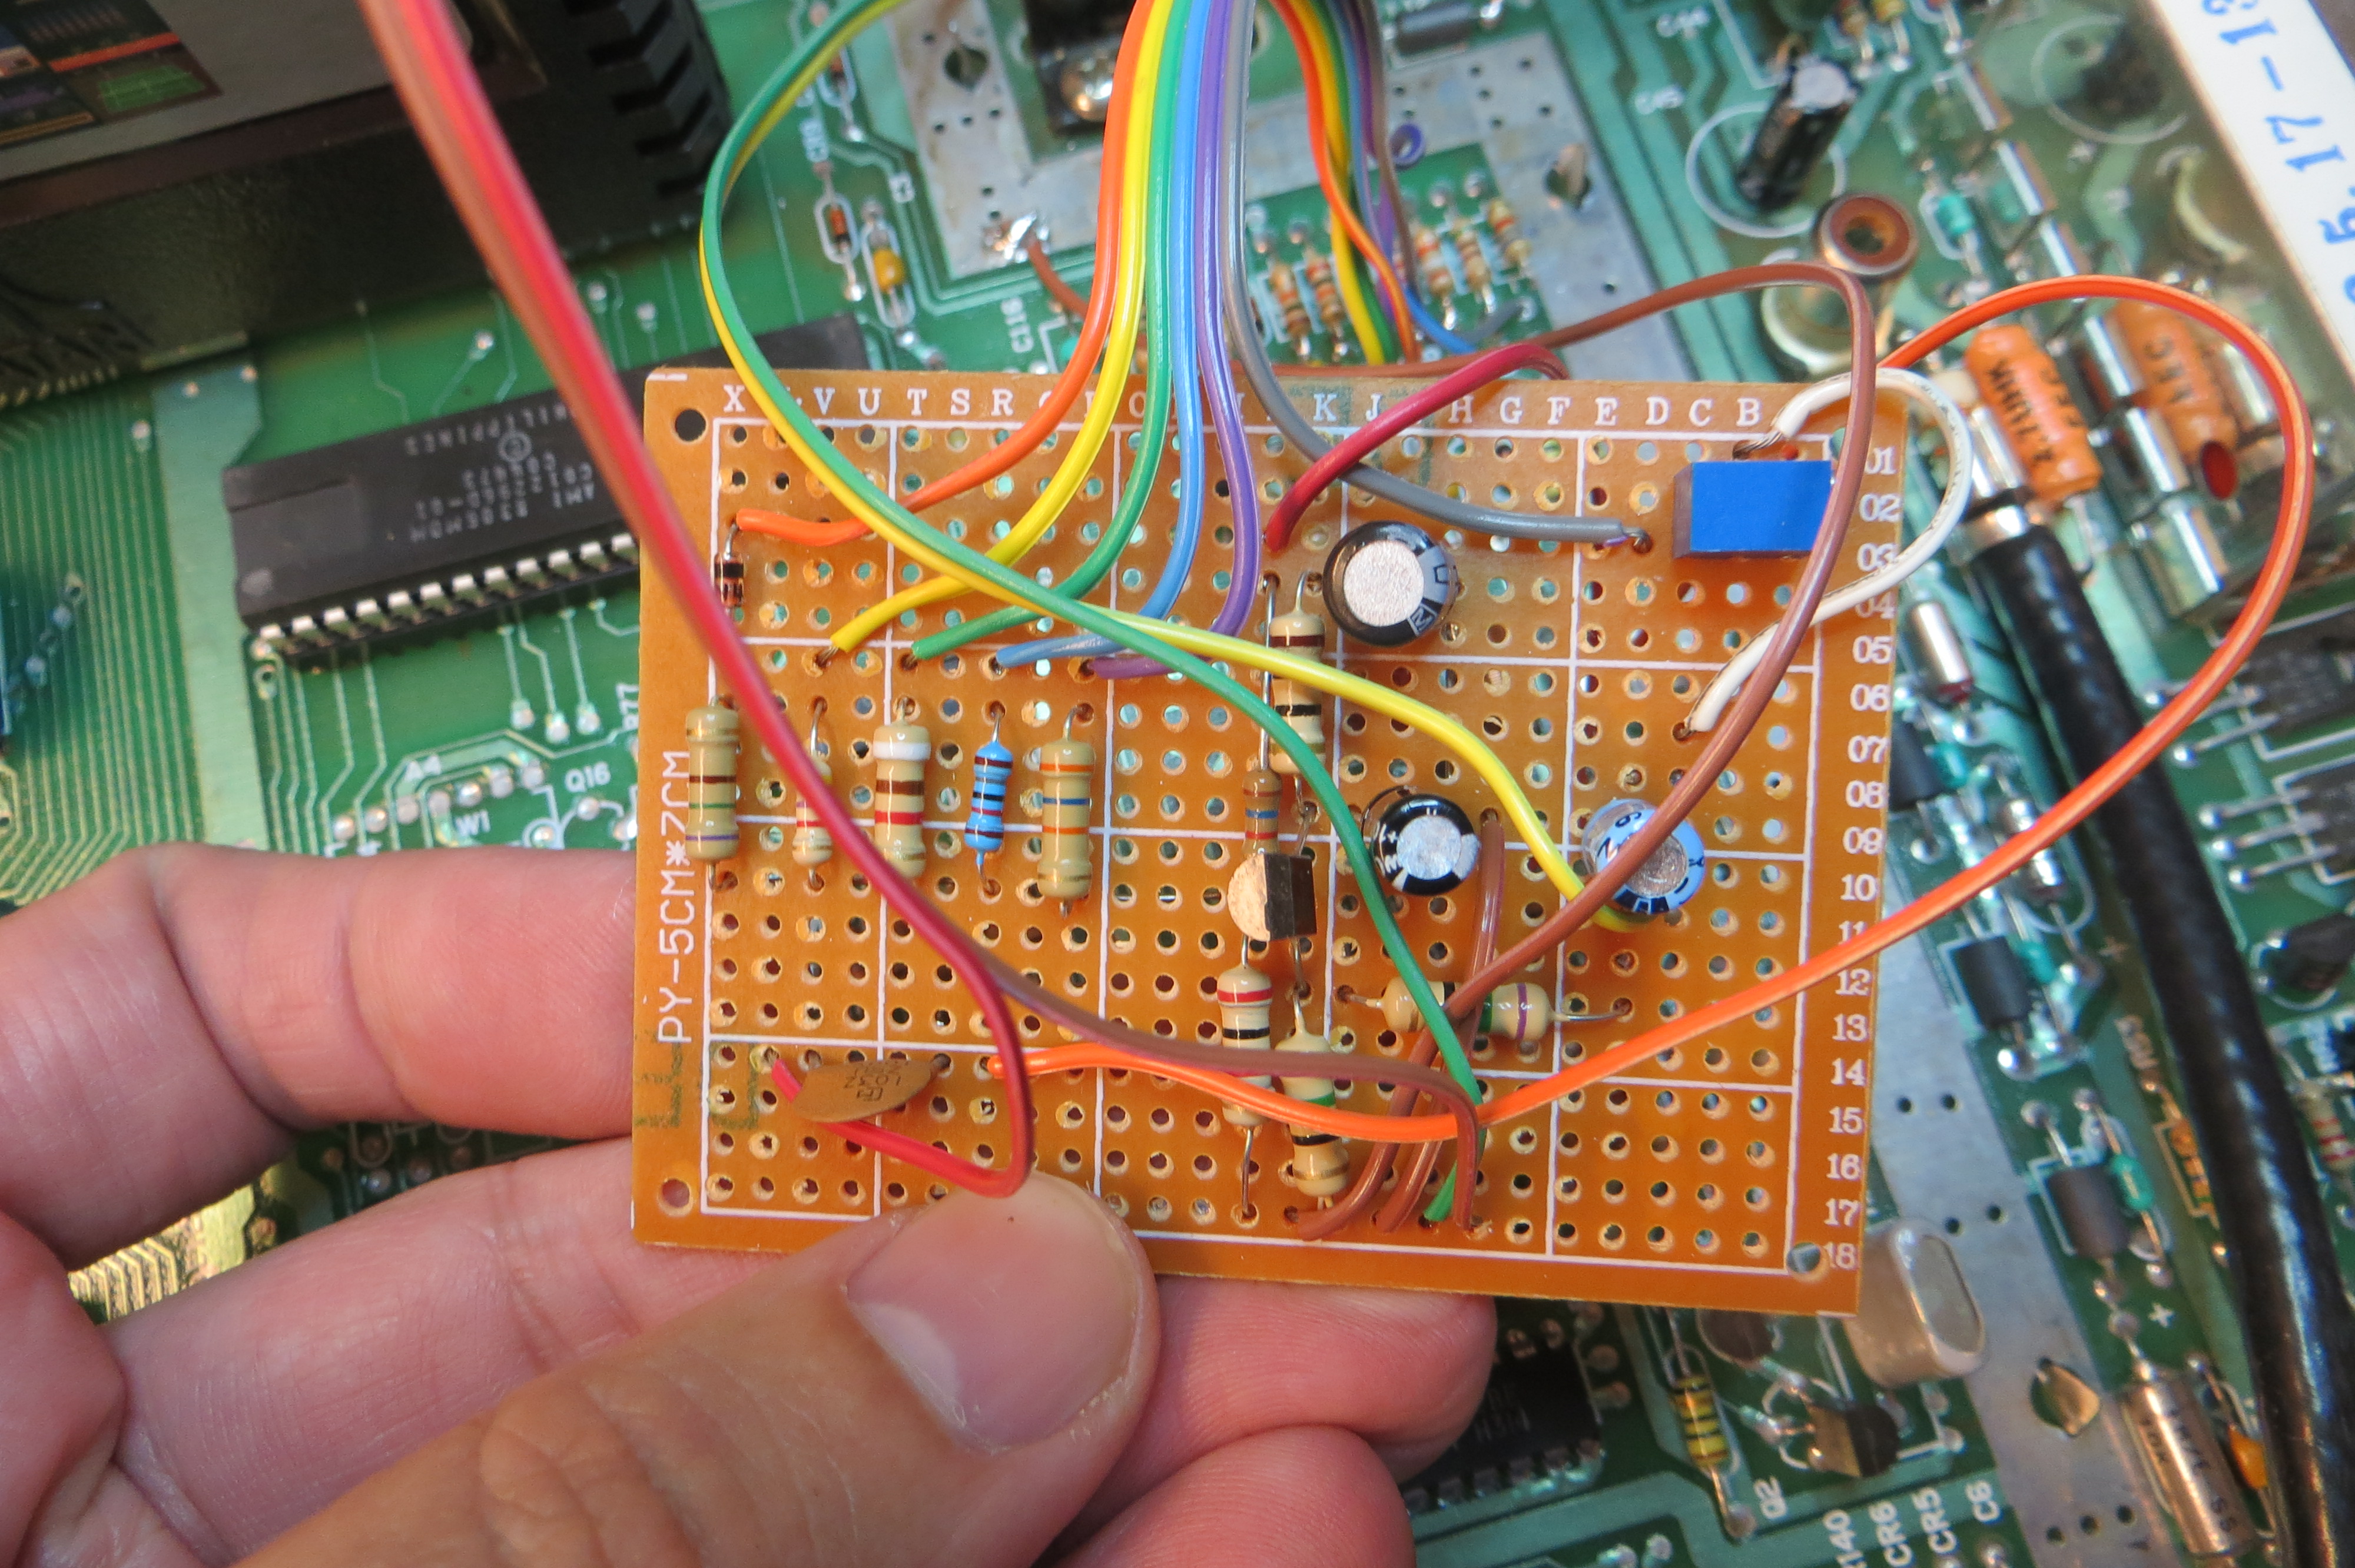
Composite output board, before mounting.
Closeup of A/V board.
My next project is to reverse engineer the 5200 controller to allow for the use of modern potentiometer based control sticks.
Here is the analog stick: