Sega RetroGenesis
The Genesis,or the Mega Drive everywhere else in the world, was the “Must Have” system of the early 1990’s. It was a 16bit system based on the Motorola 68000. This is not a history lesson, but a retrofit. I never had one of these bad boys, but I remember playing Revenge of Shinobi and Altered Beast at a friend’s house.
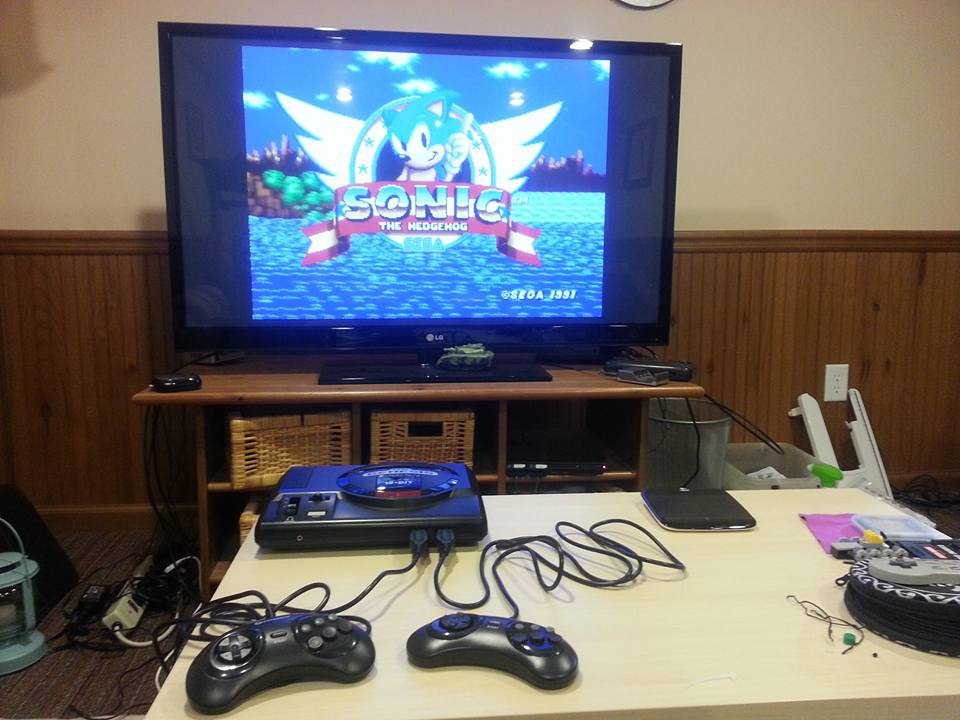
It is now 2016,and darnit, I want a Genesis. My younger brother donated a dead Genesis to be retrofitted with a RaspberryPi, running RetroPie. For this retrofit I wanted to use the original controllers. I went with Hyperkin 6 button controllers, which are an exact copy of the originals.
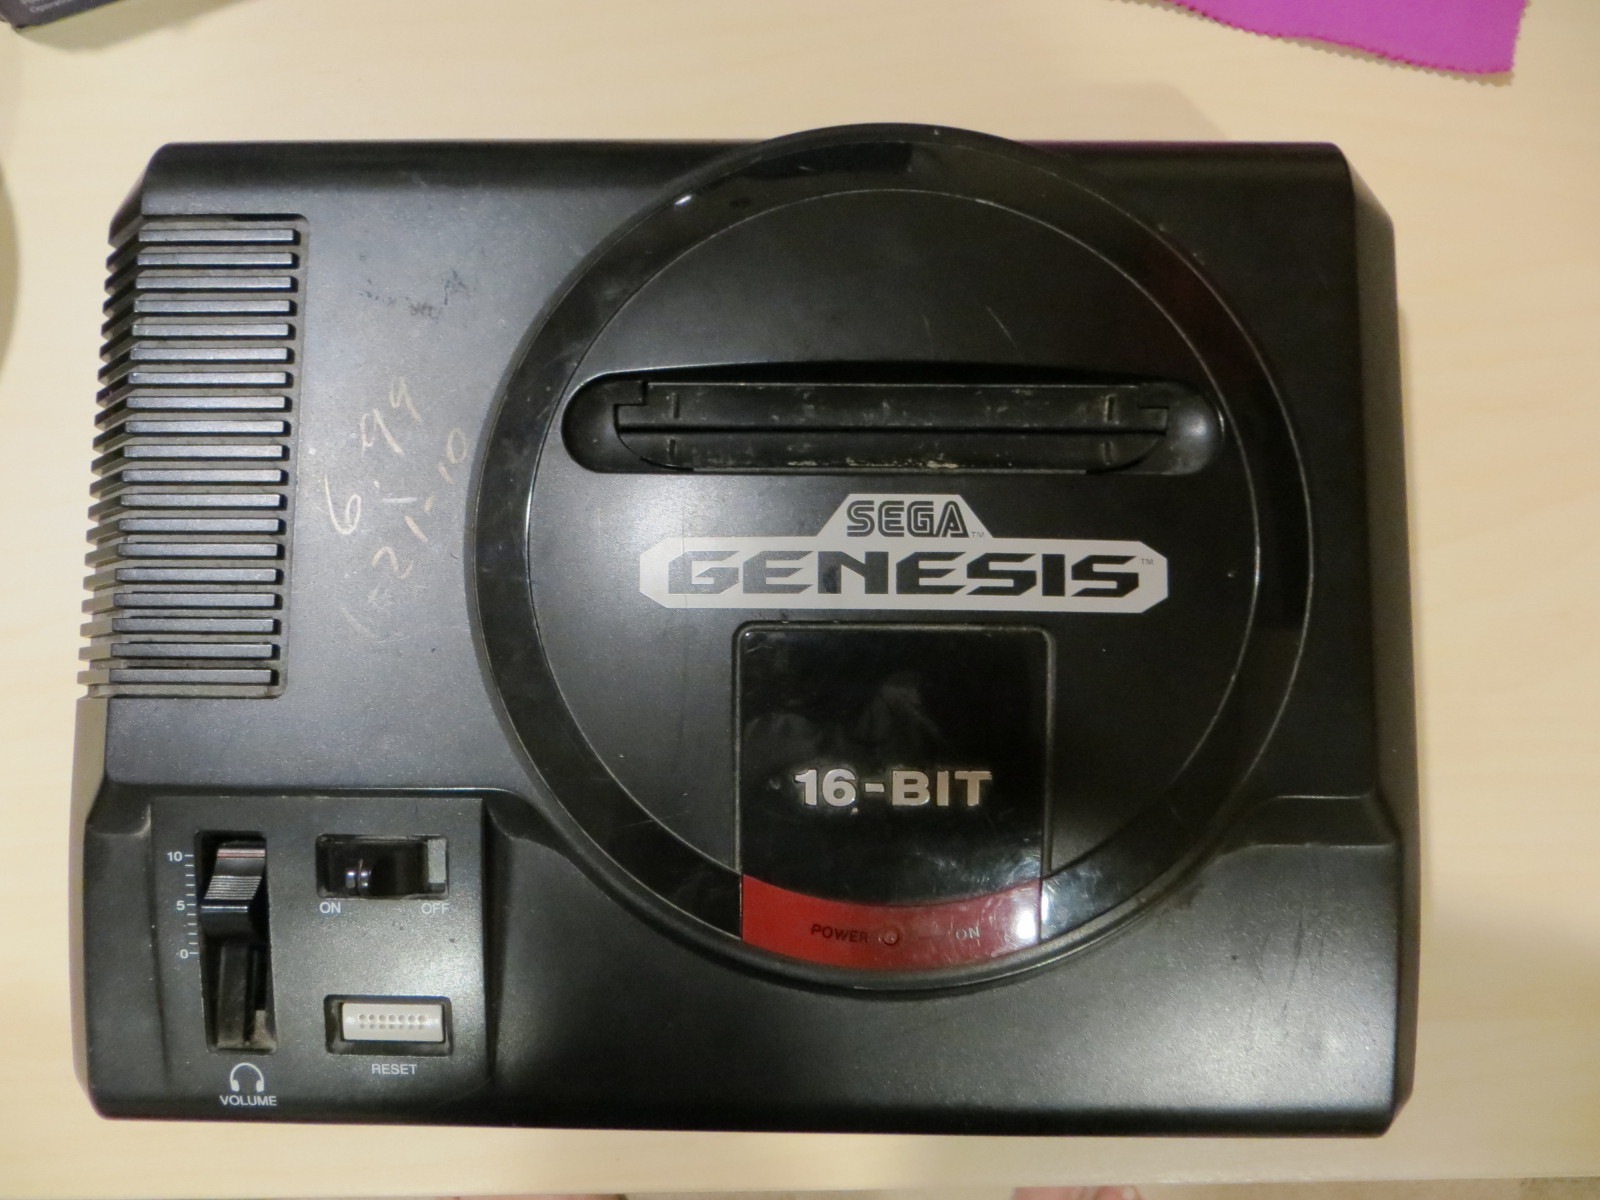
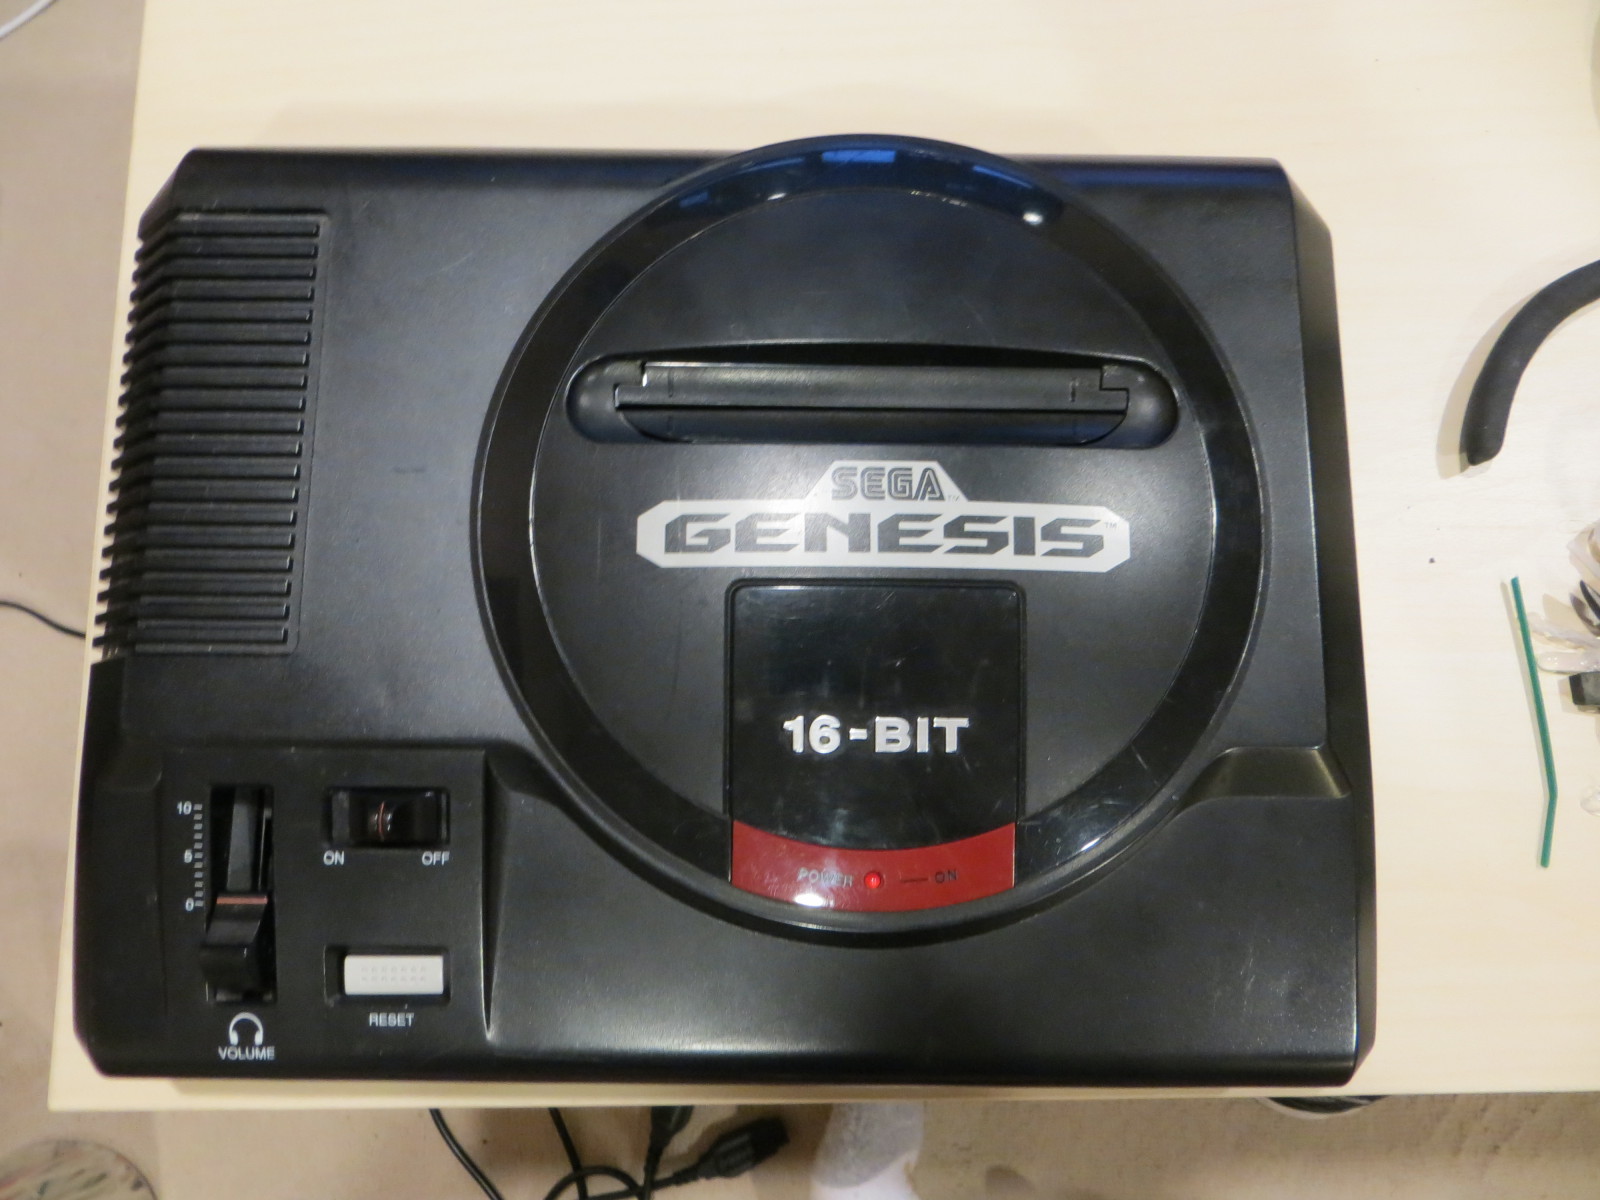
As you can see, the case was a little dirty and marked with a price. Remove 6 self tapping screws and the case opens easily. There are only 2 screws that hold the motherboard in place,they are located on the edges of the cartridge slot. Remove those two and the LED on the lid. A little warm, soapy water, a sponge and a toothbrush, and off comes the dirt and DNA. You can let this dry and get to work on the wiring.
First thing first, removals, with the joystick connectors at the lower right corner:
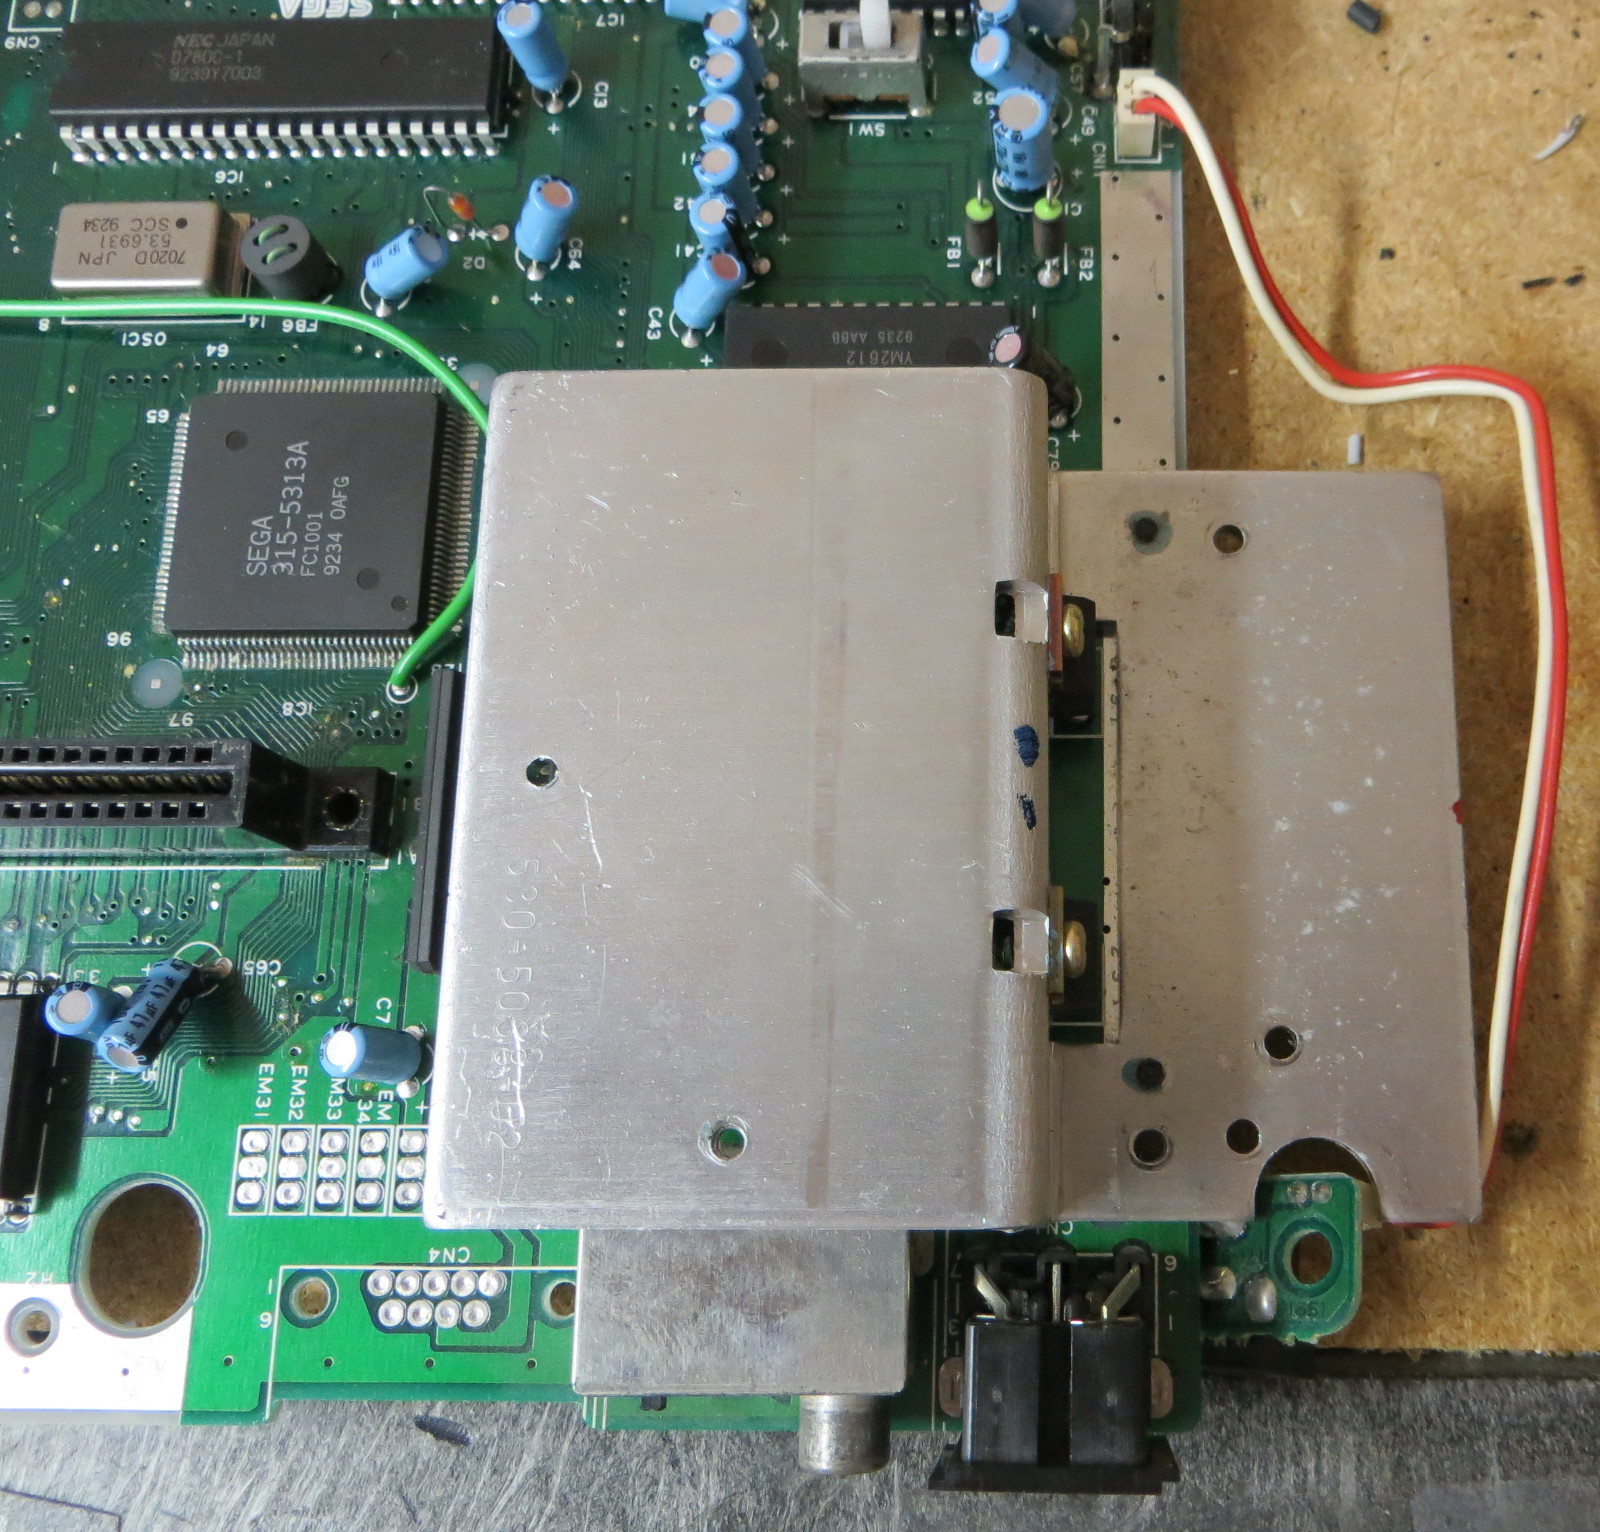
-power regulator at the upper left corner
-RF modulator, located just to the right of the power regulator.
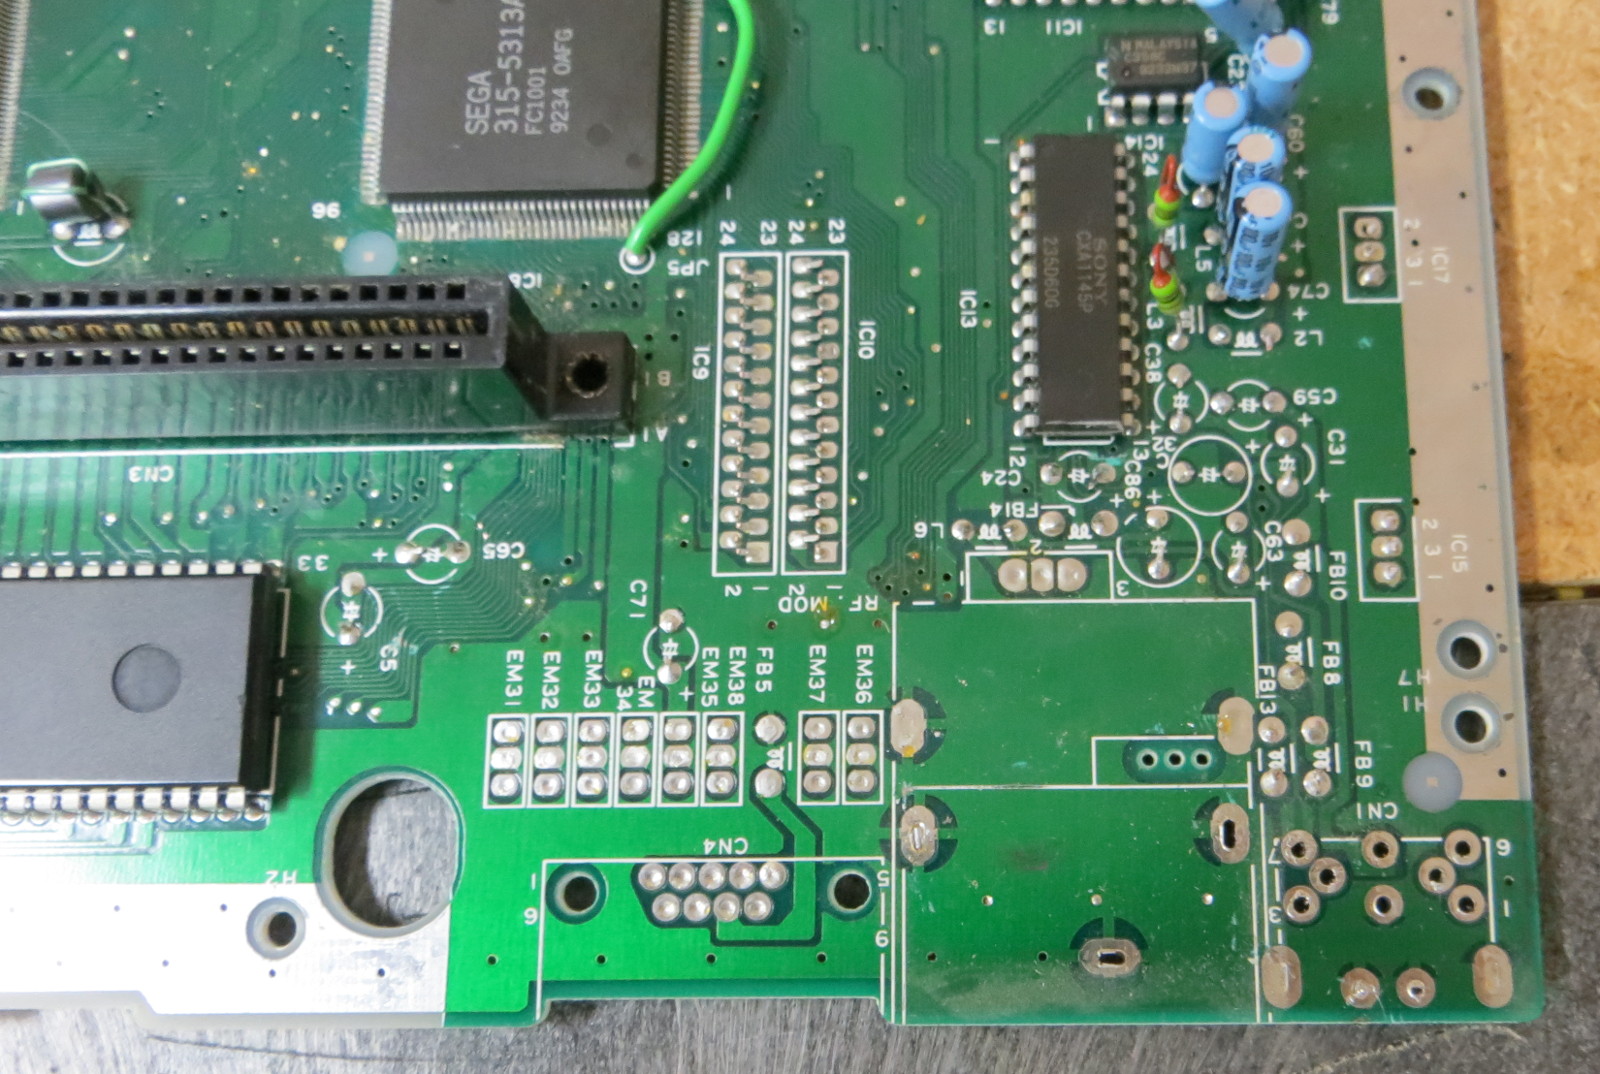
-Cartridge slot. This was done with brute force and wire clippers.
-Optical Isolators located just north of the two db 9 joystick connectors.

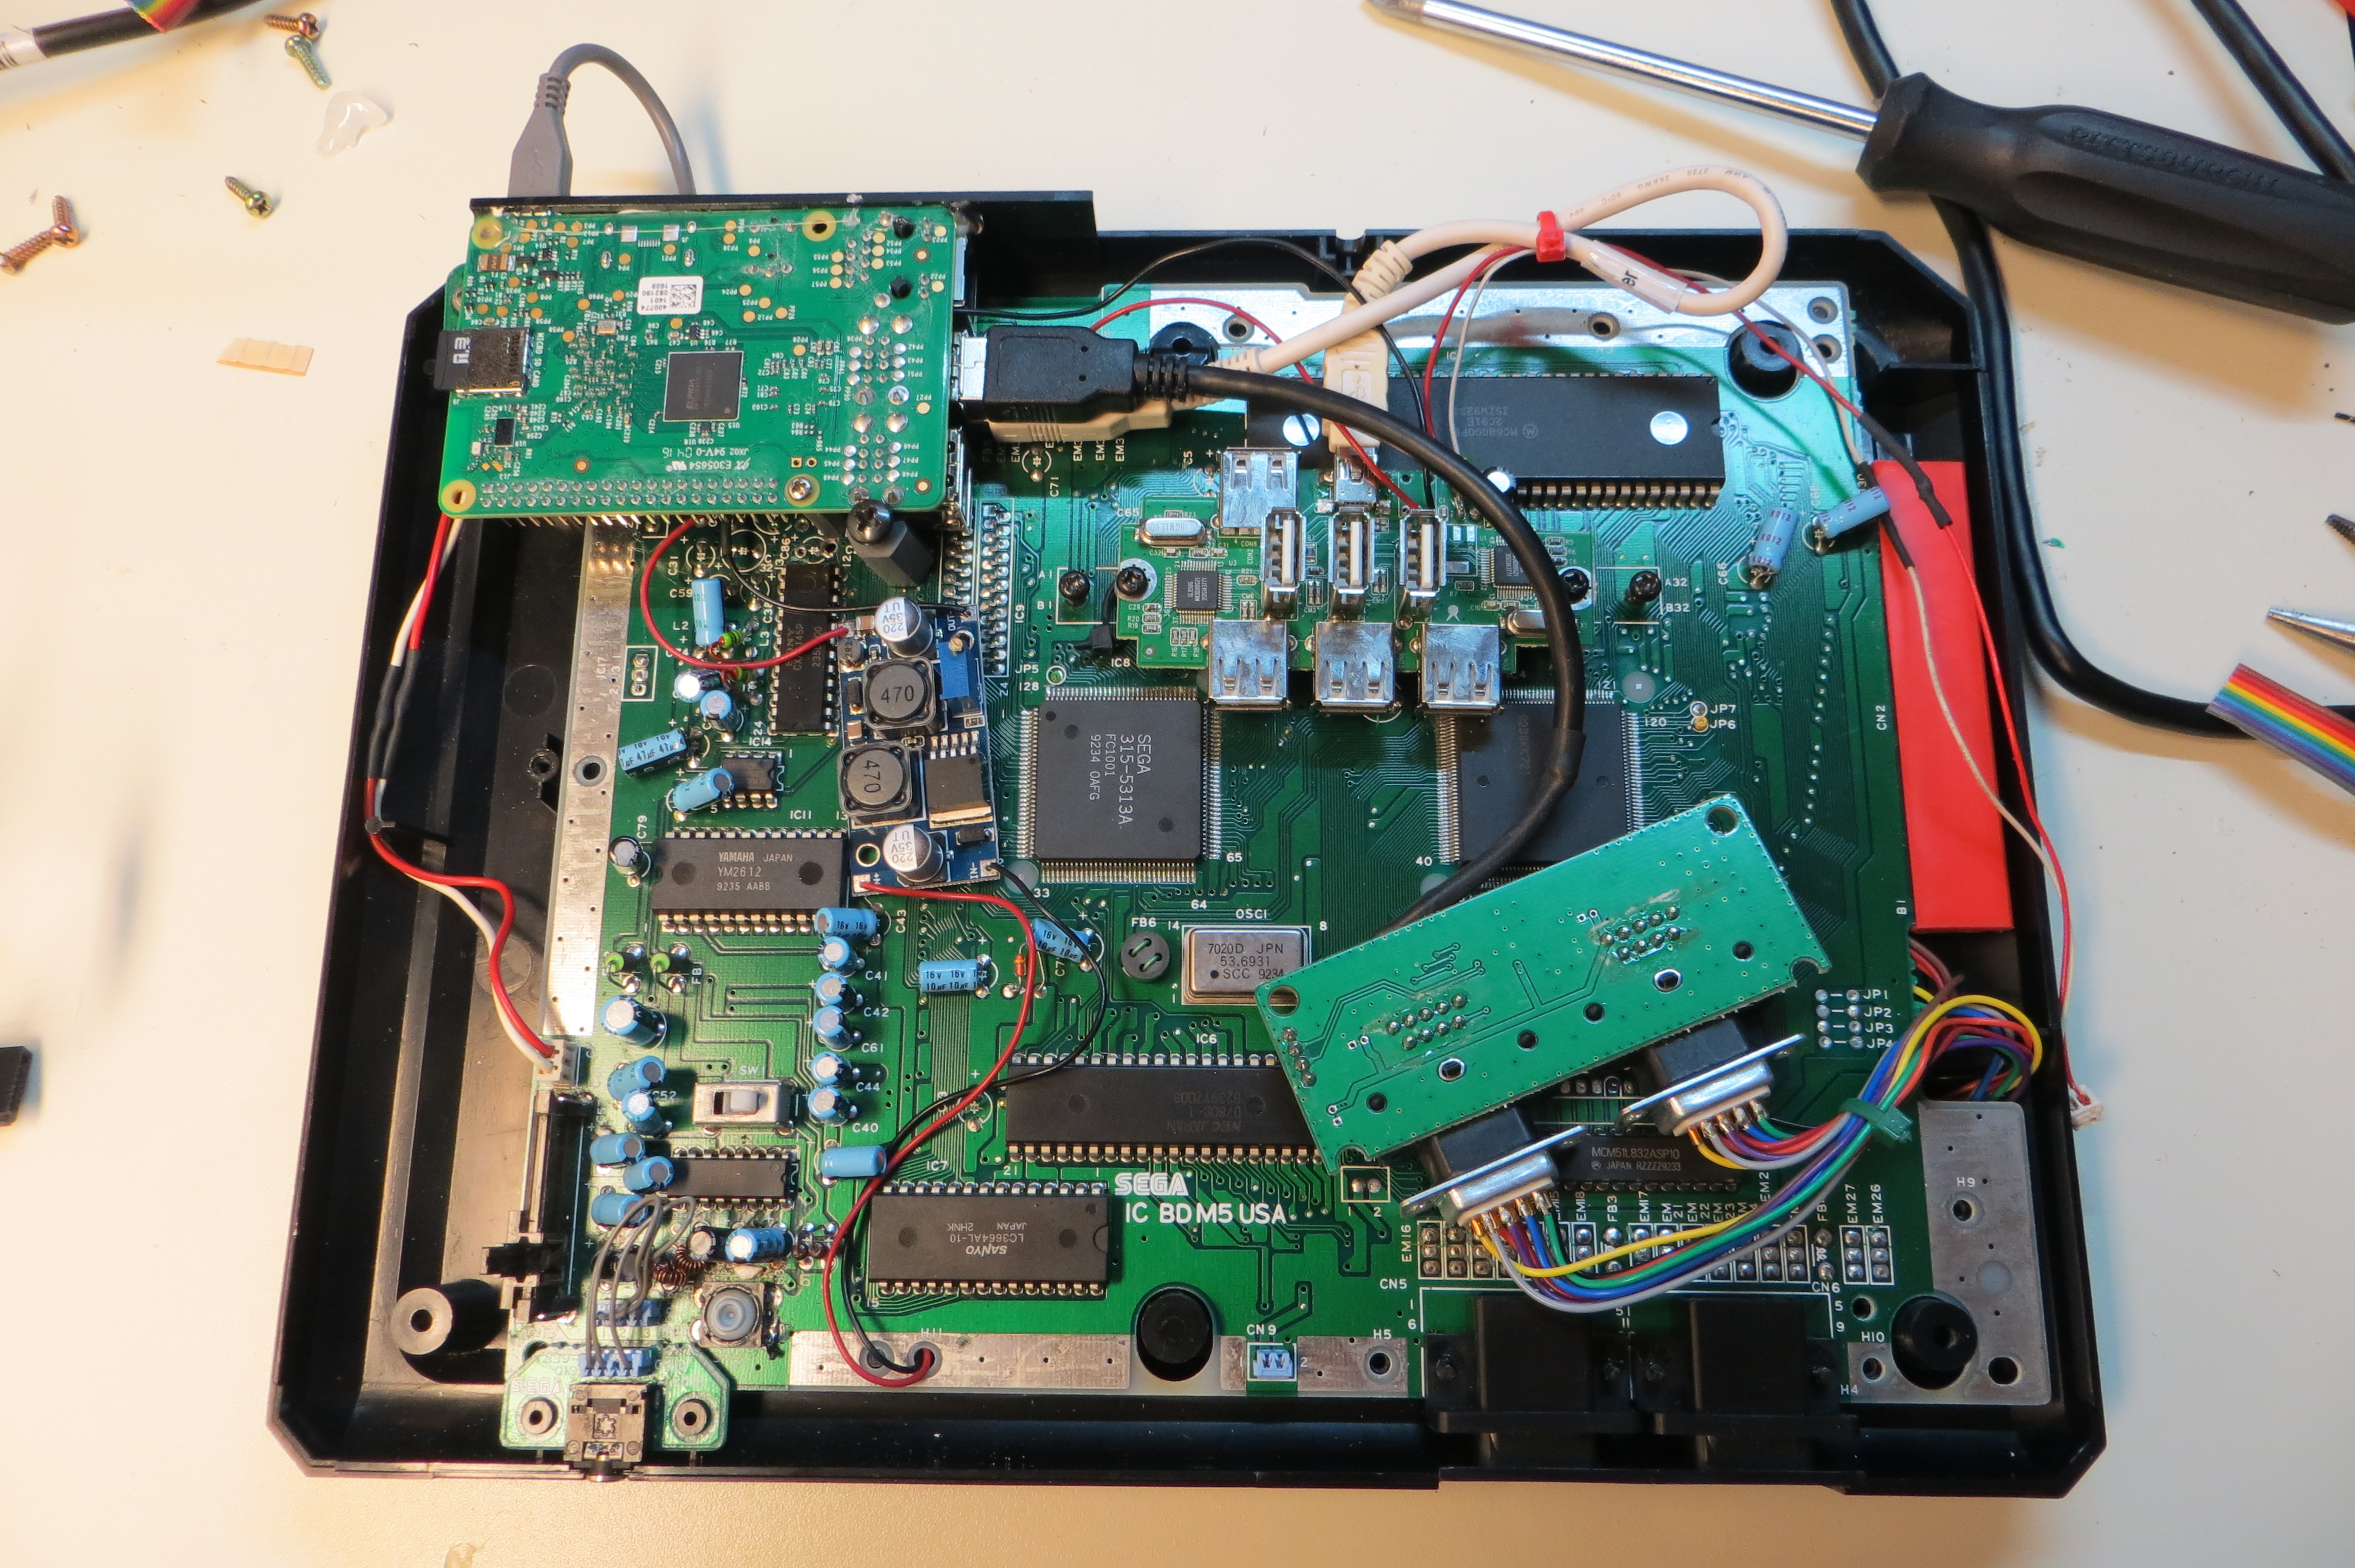
I mounted the raspberry pi in the upper left, where the power converter and RF modulator was located. I mounted the USB hub where the cartridge port was located.
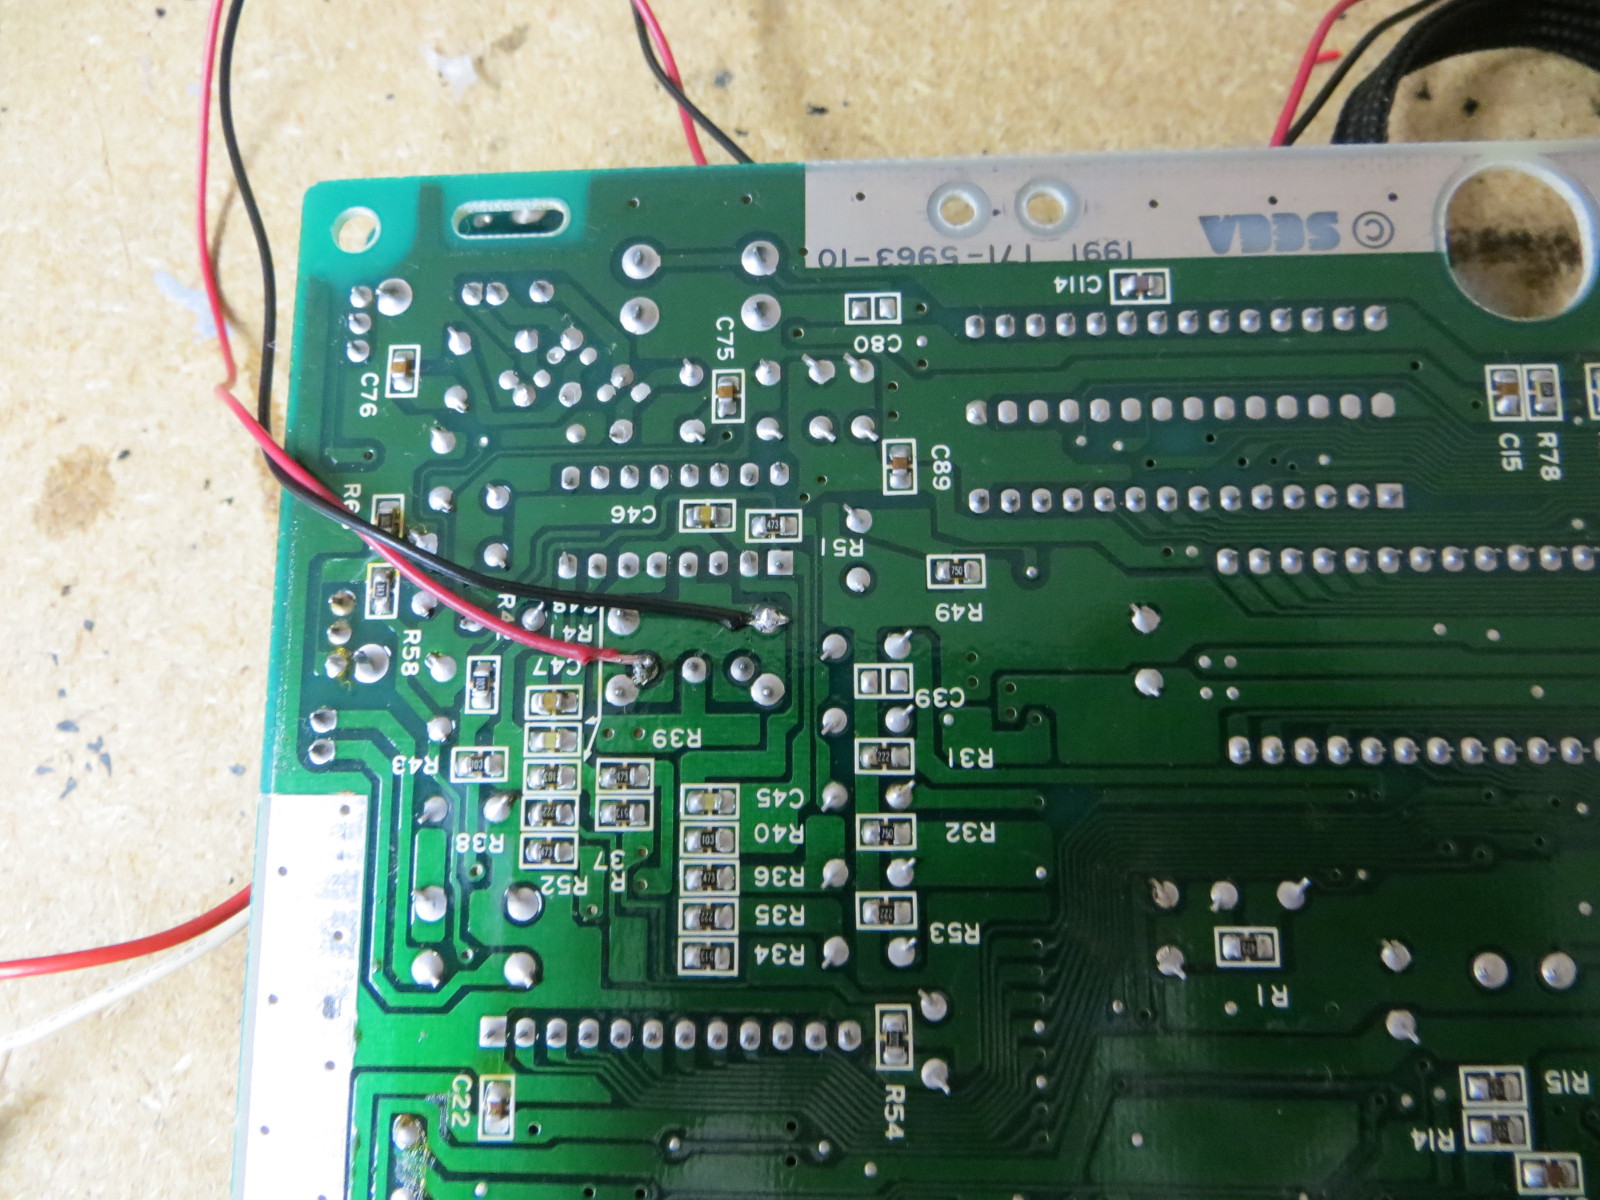
On the underside, I soldered wires to the power switch and the 2 DB-9 connectors. At this point, I do not have a photo of the DB-9 connections.

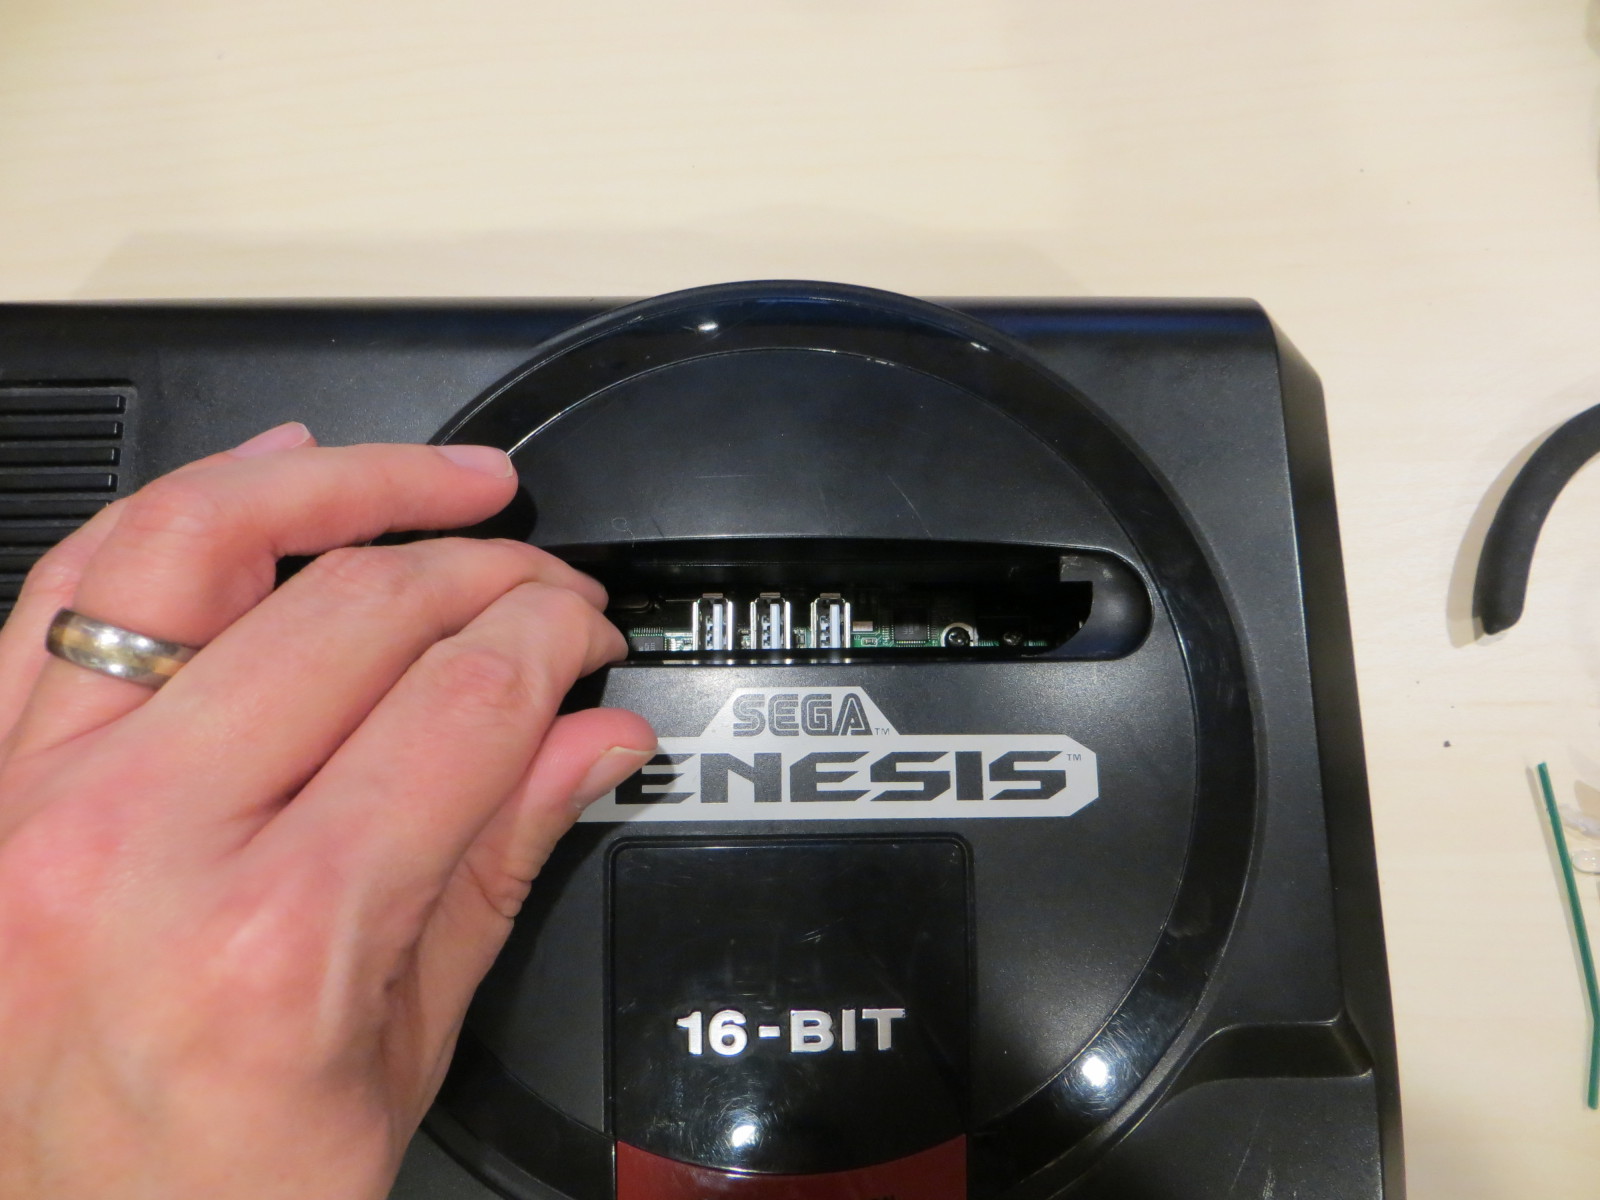
There is very little case modification needed. Just make D shaped holes to allow for the AVI, HDMI, and USB power to protrude. I hid the USB port under the cartridge doors, so the system looks very original when off.
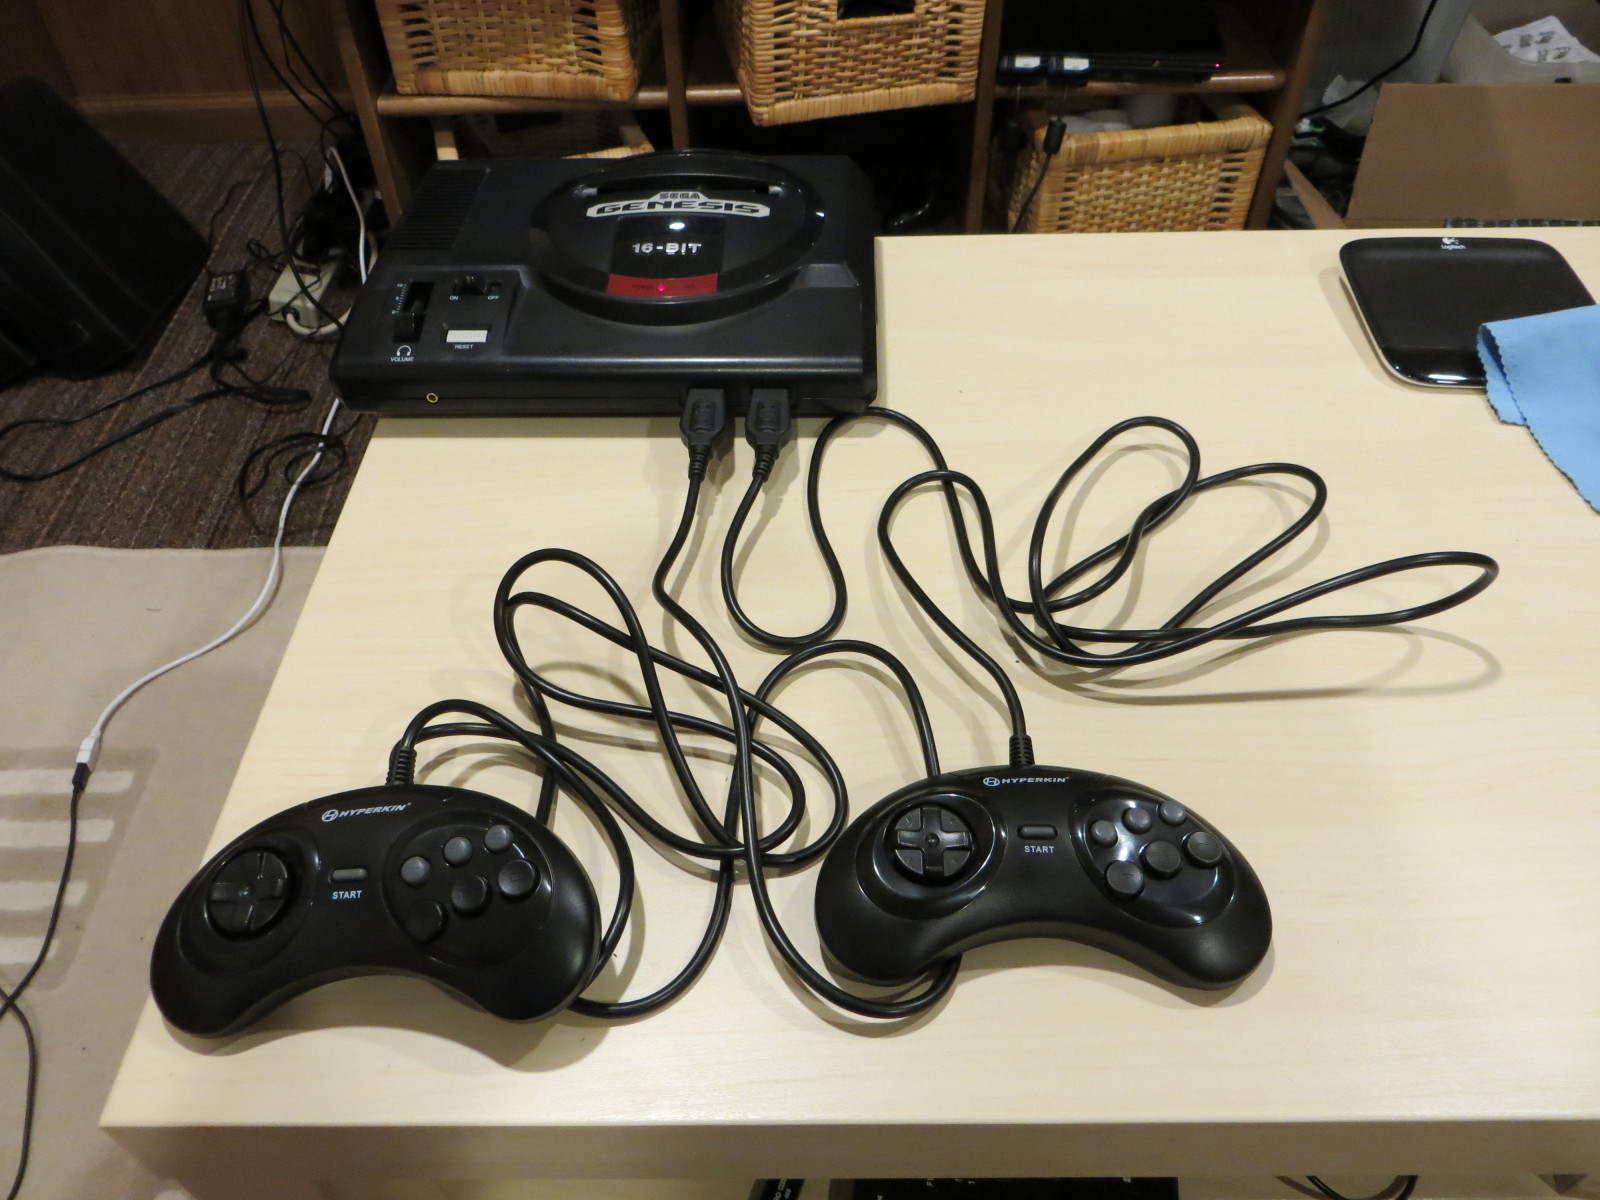
After all the components were placed, I took some WD-40 on a rag and shined up the unit and plugged in the new controllers. It looks really legitimate, with the original power switch and power on indicator working and original (modern copy) controllers. It is a practical and fun system to play and the original controllers have a great feel and ergonomics. In total, you are looking at less than $100 in parts and about 1 to 2 hours of labor, depending on your skill.
Parts used:
- Used, broken Sega Genesis, 1st generation.
- Raspberry Pi, Model 2.
- Hyperkin Genesis GN6 controllers.
- Mayflash Genesis to USB convertor.
- USB hub with top and side ports. I can’t find the exact one right now online.
- Micro SD card, at least 8gb capacity.
- Optional USB thumb drive for higher performance.
How Genesis games were meant to be played:
October 6, 2017 addendum:
Upgraded the RetroGenesis in a few ways:
- Swapped out Pi 2 with a Pi 3
- Added DC-DC boost/buck converter, set to 5.1VDC to keep the Pi 3 from complaining about low volts and allowing 3 to 32V supply voltage.
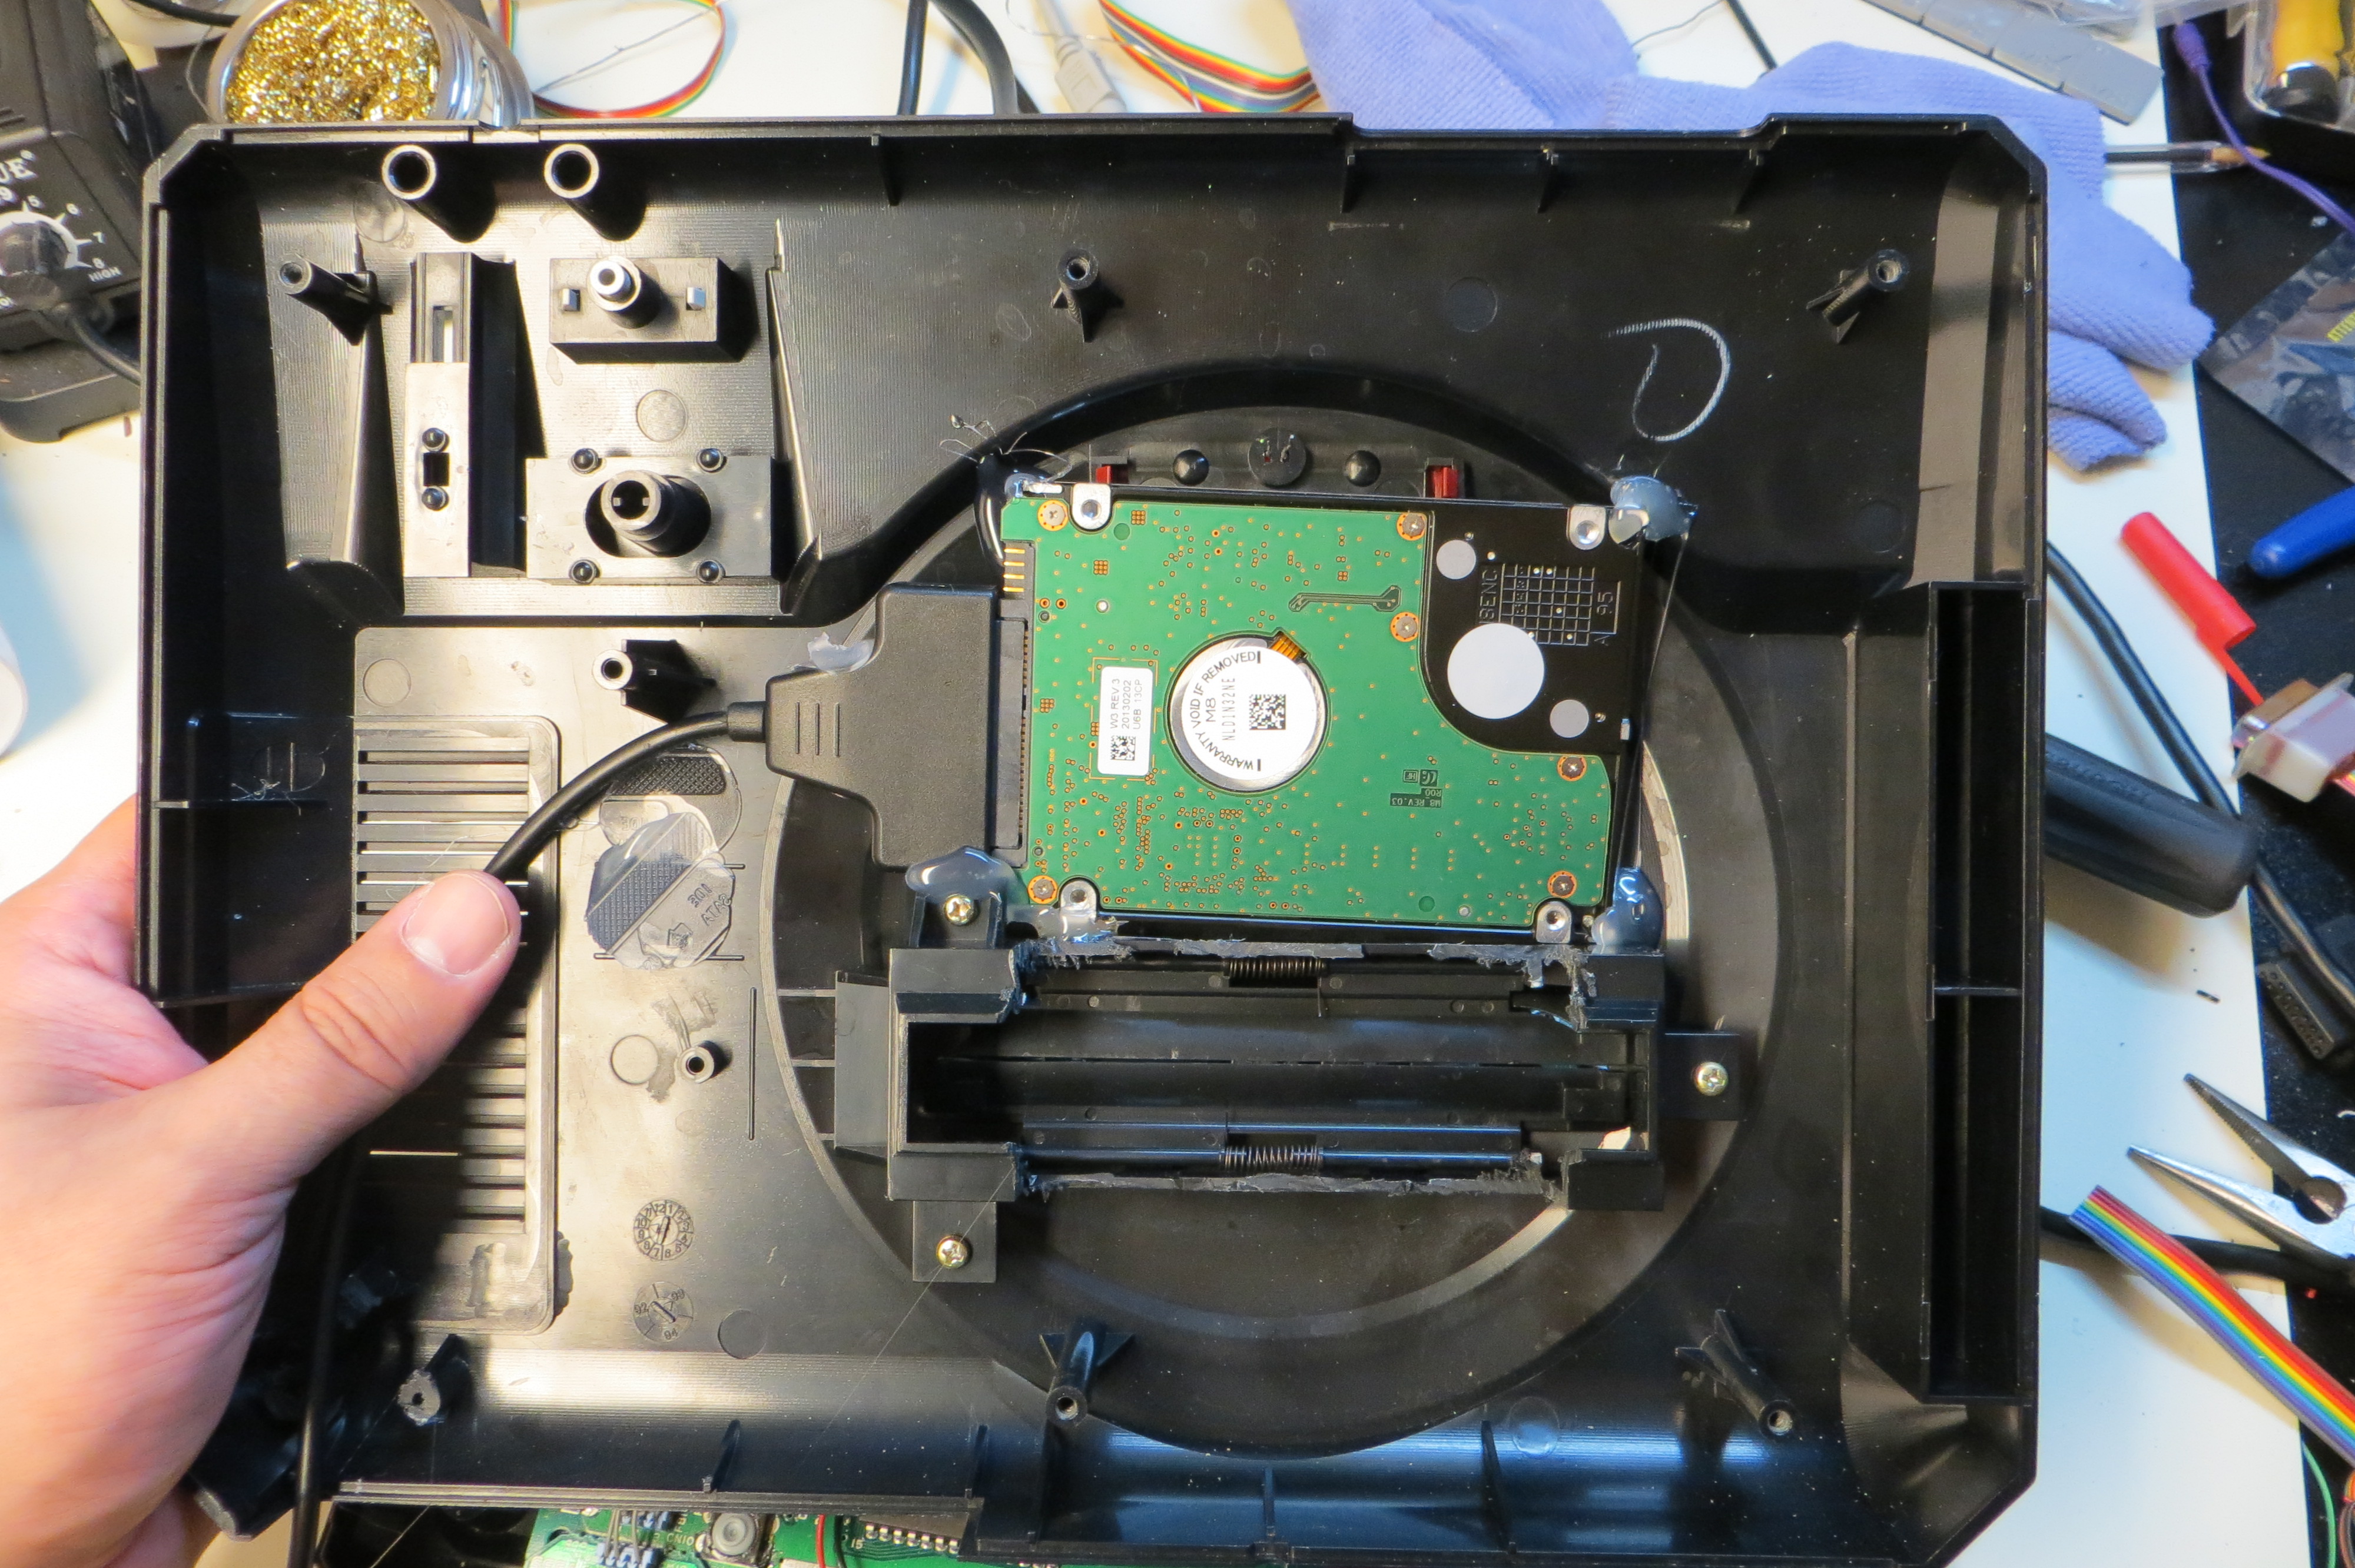
- Swapped the 32g thumb drive with a 500G 3.5″ laptop drive. I wanted the space for PlayStation 1 and PC Engine CD-ROM games.