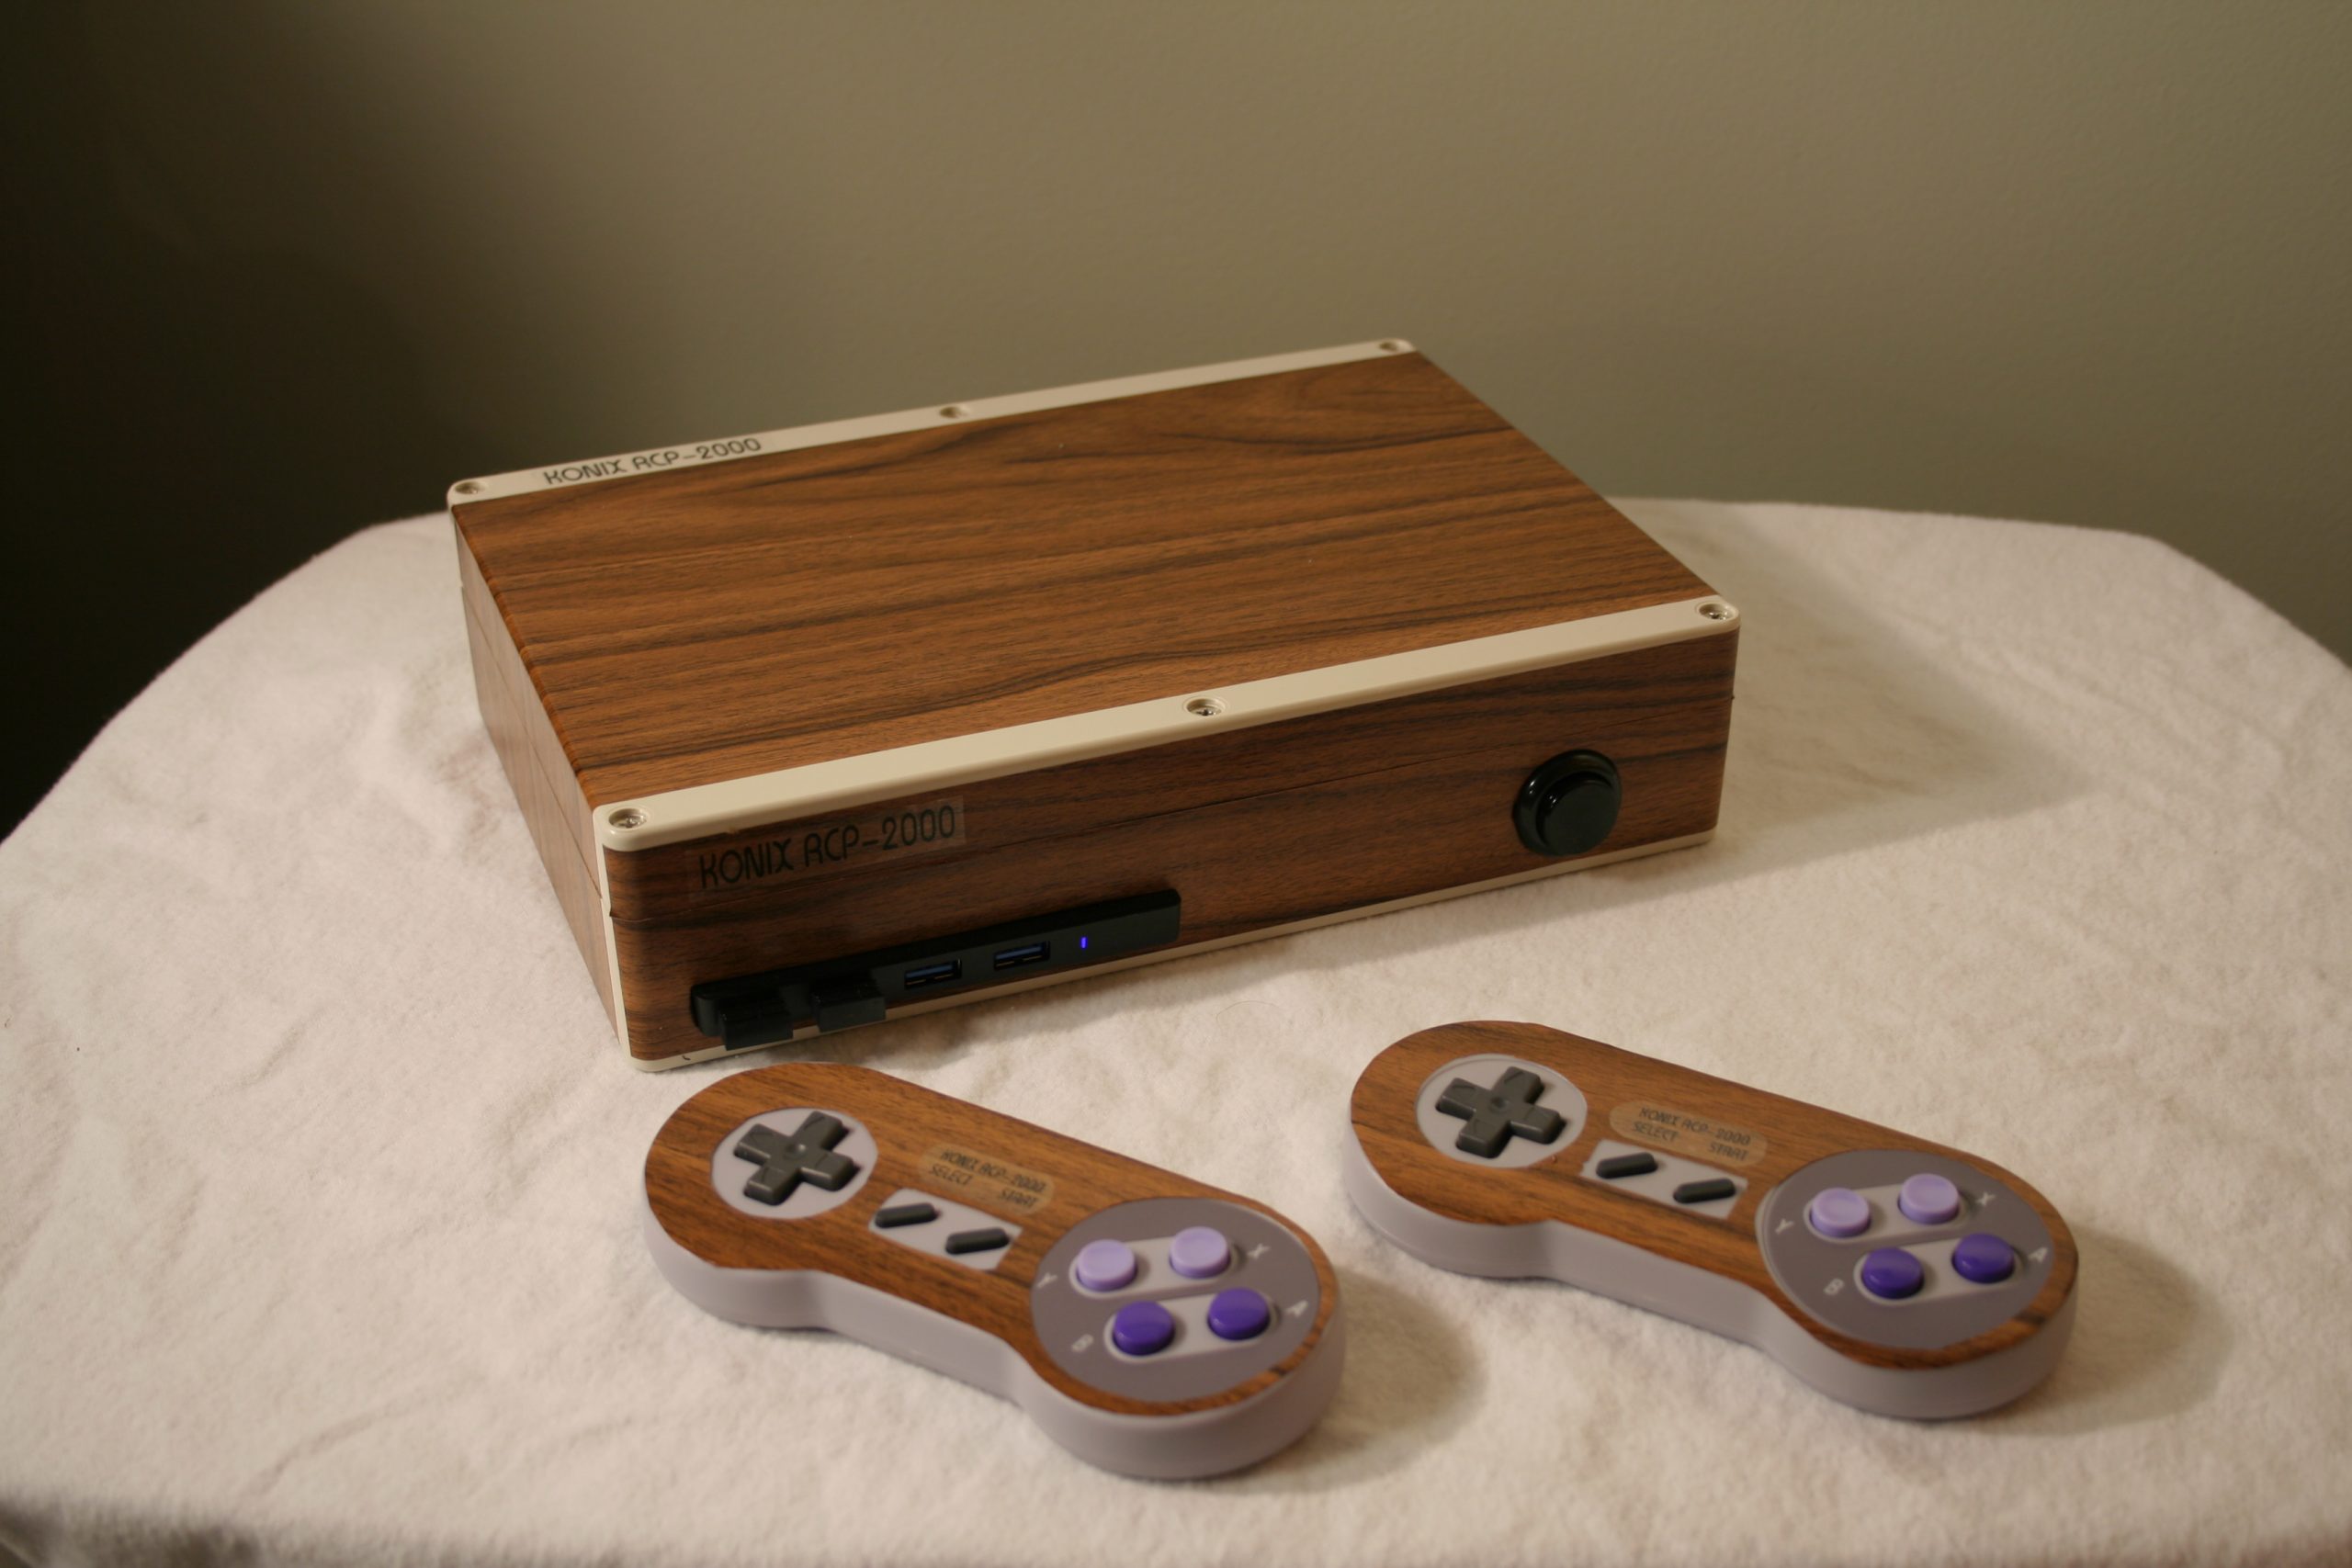
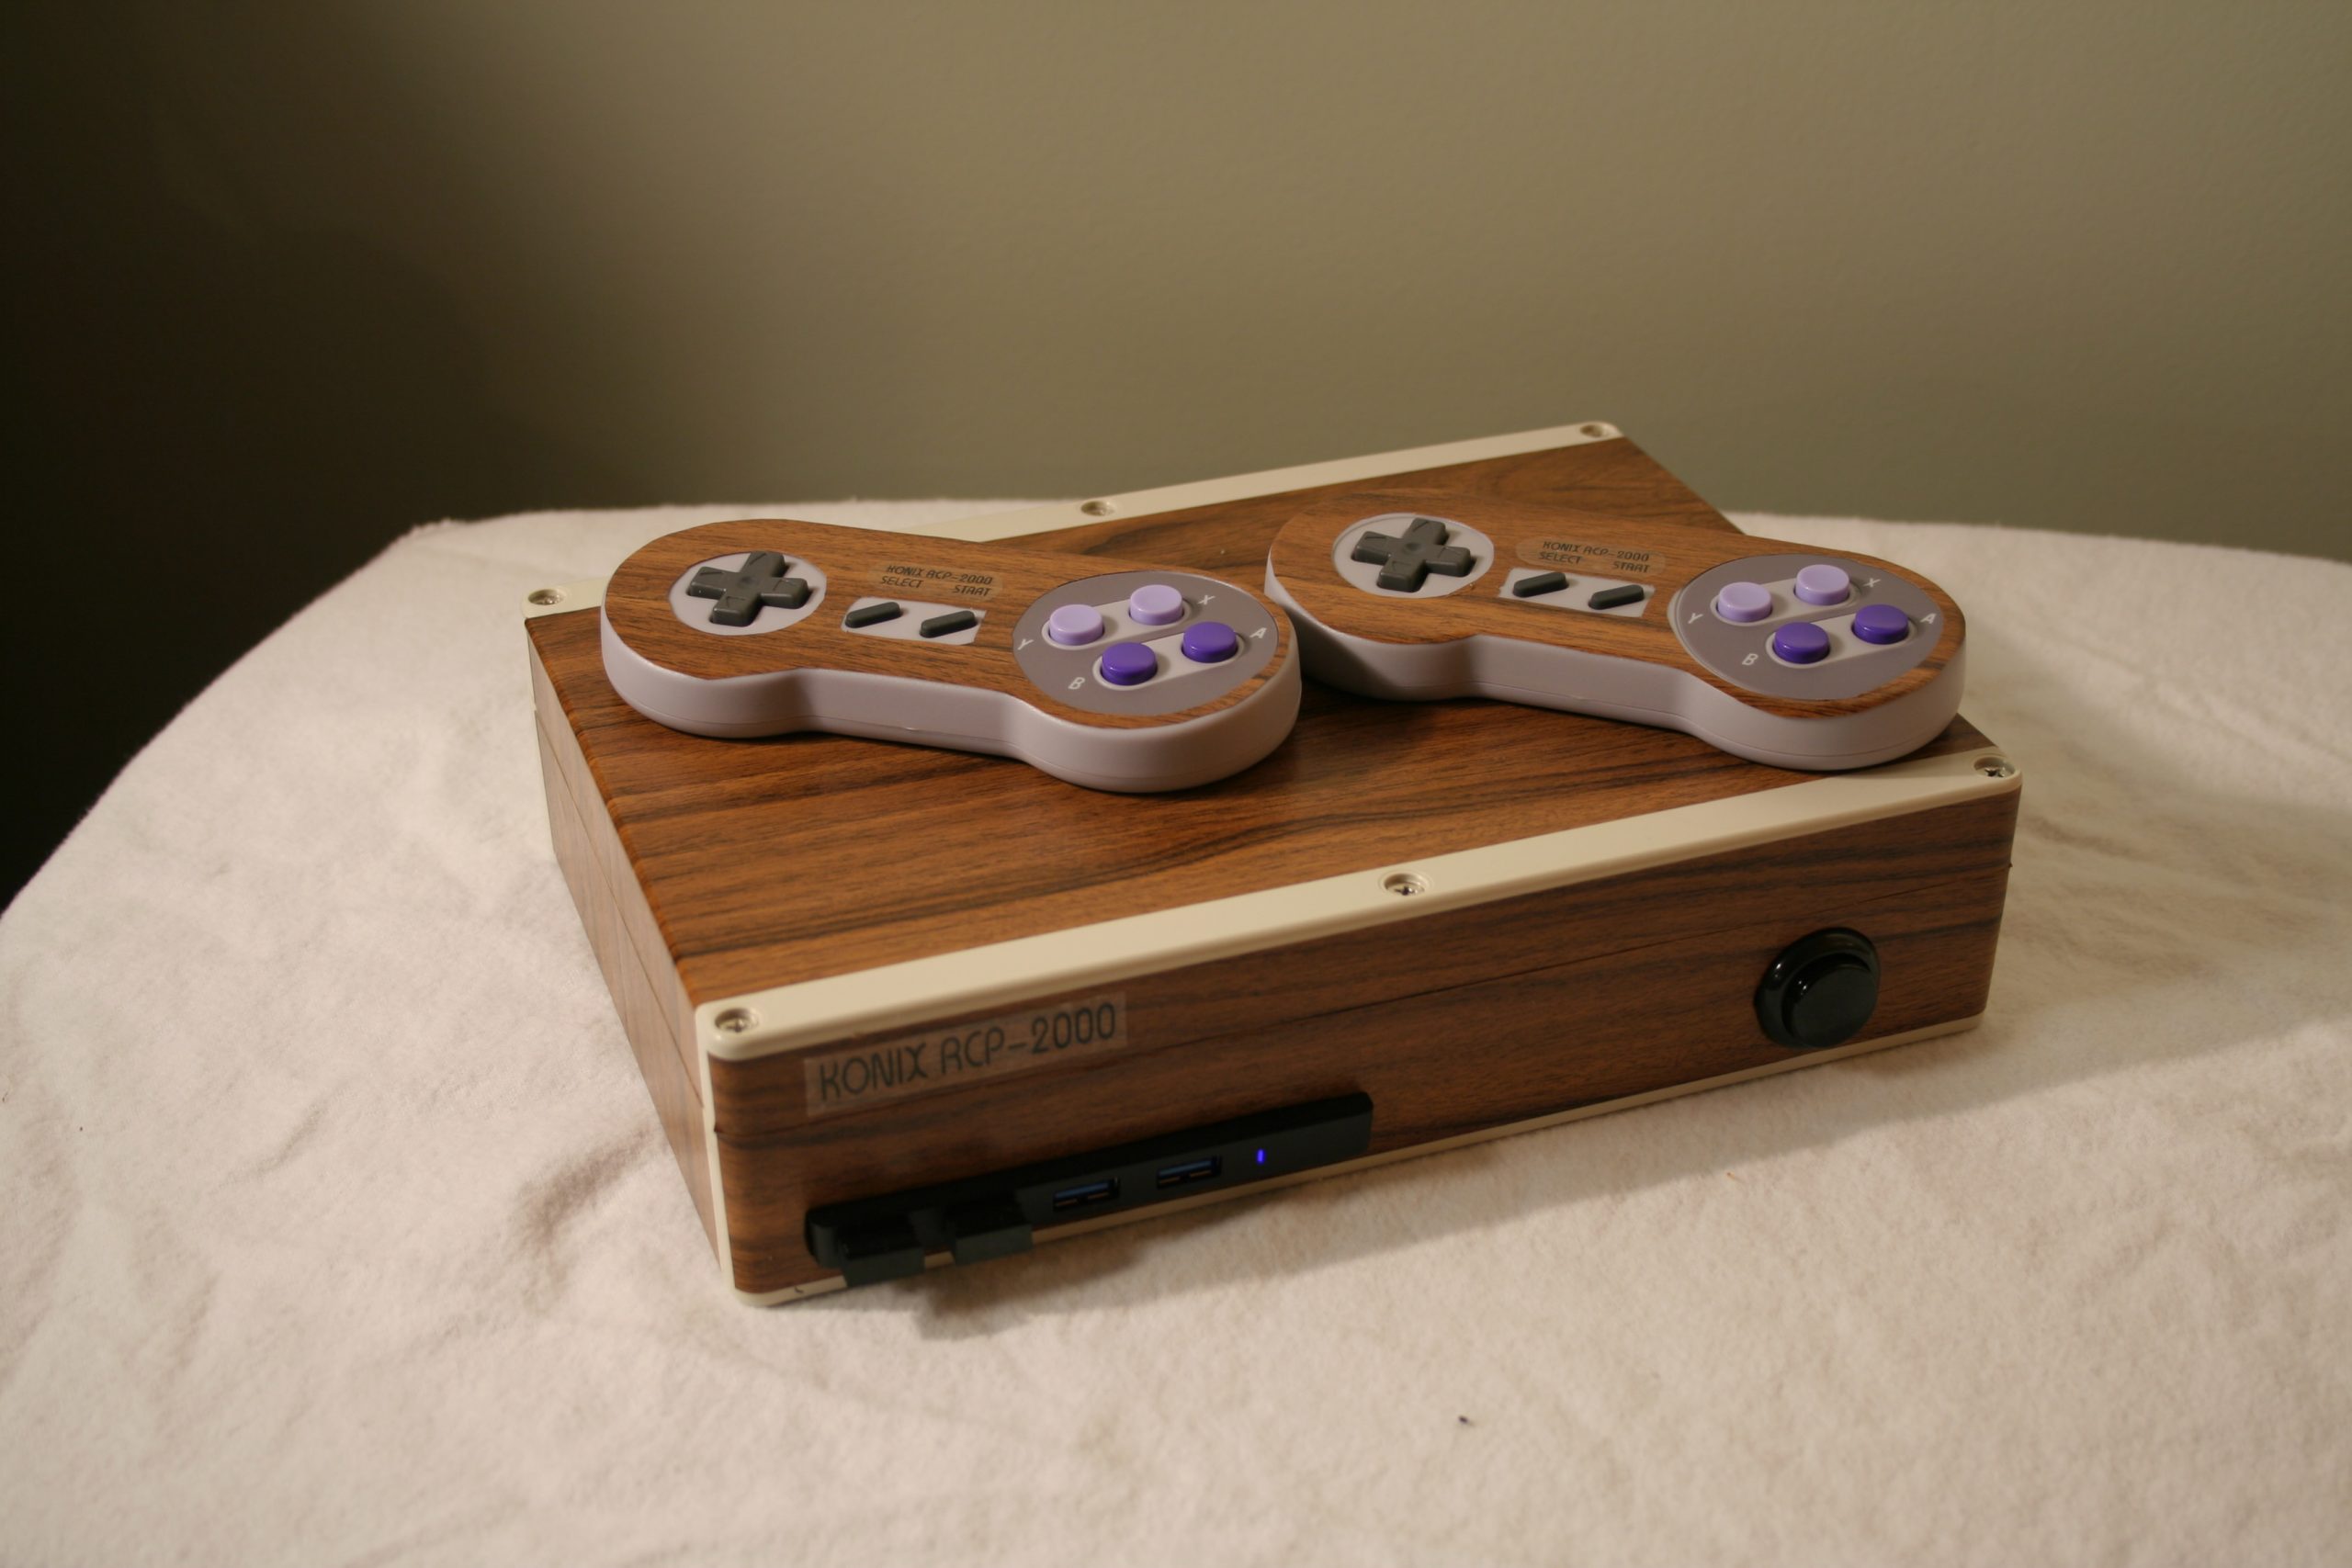
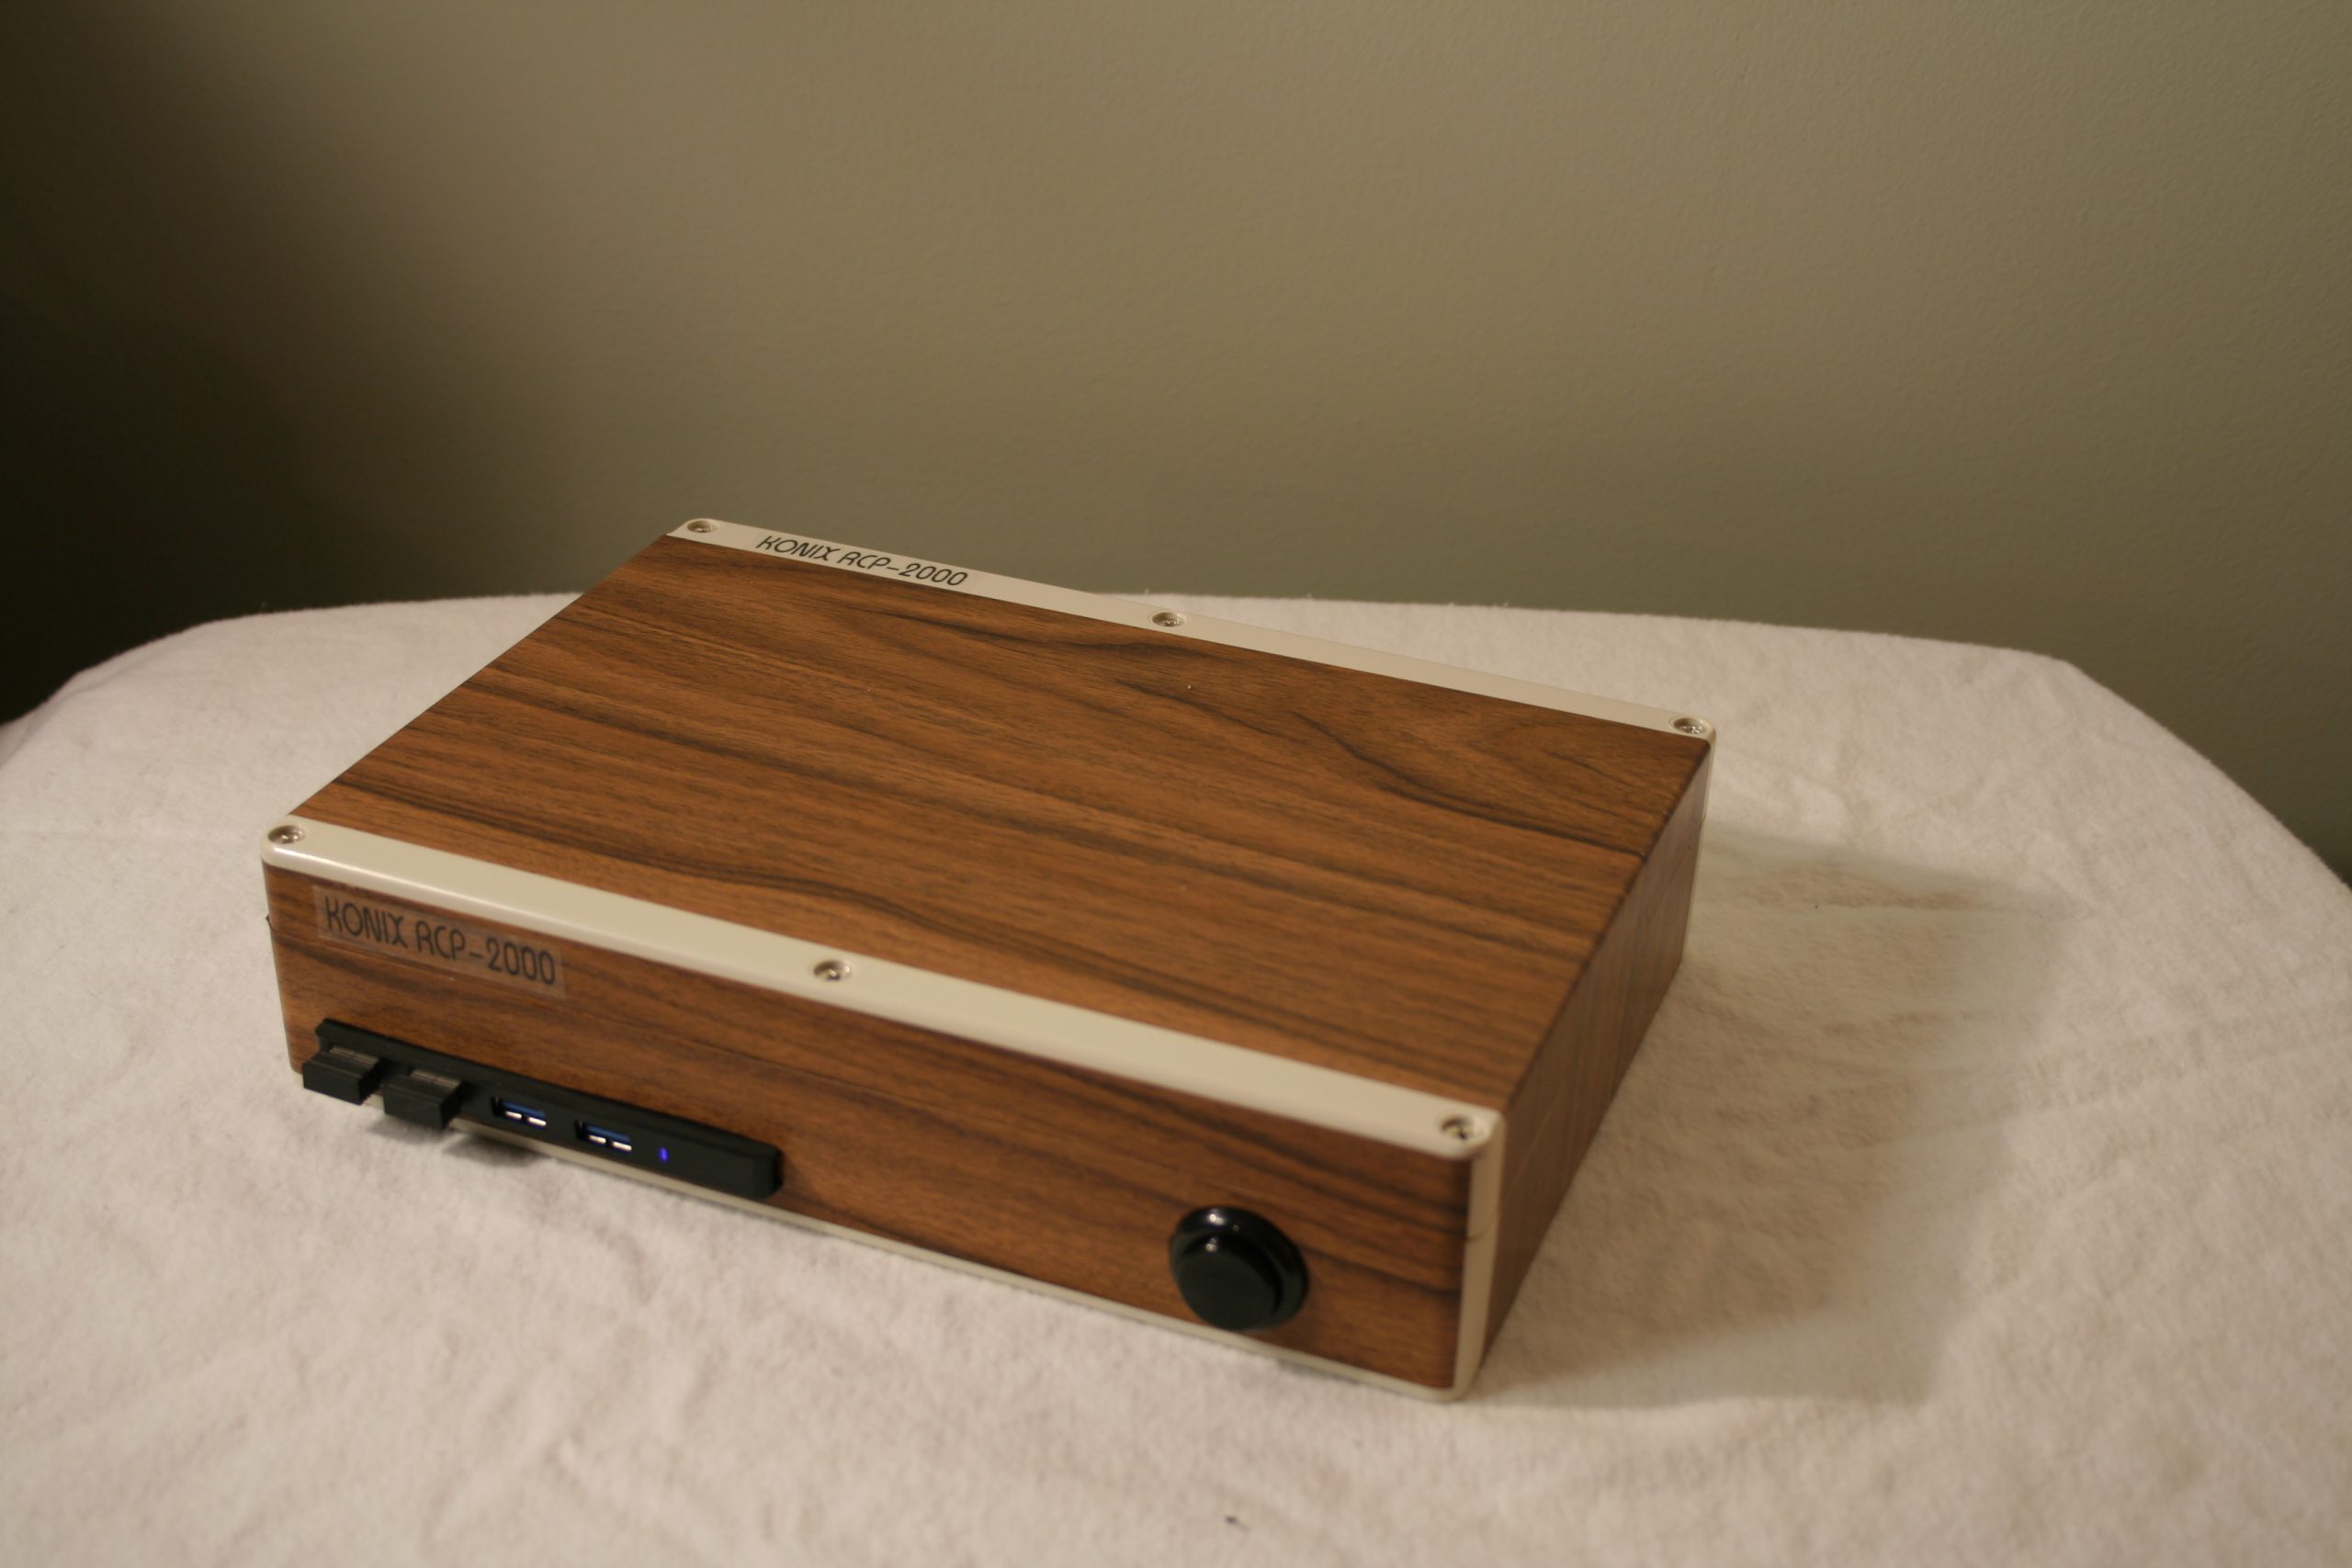
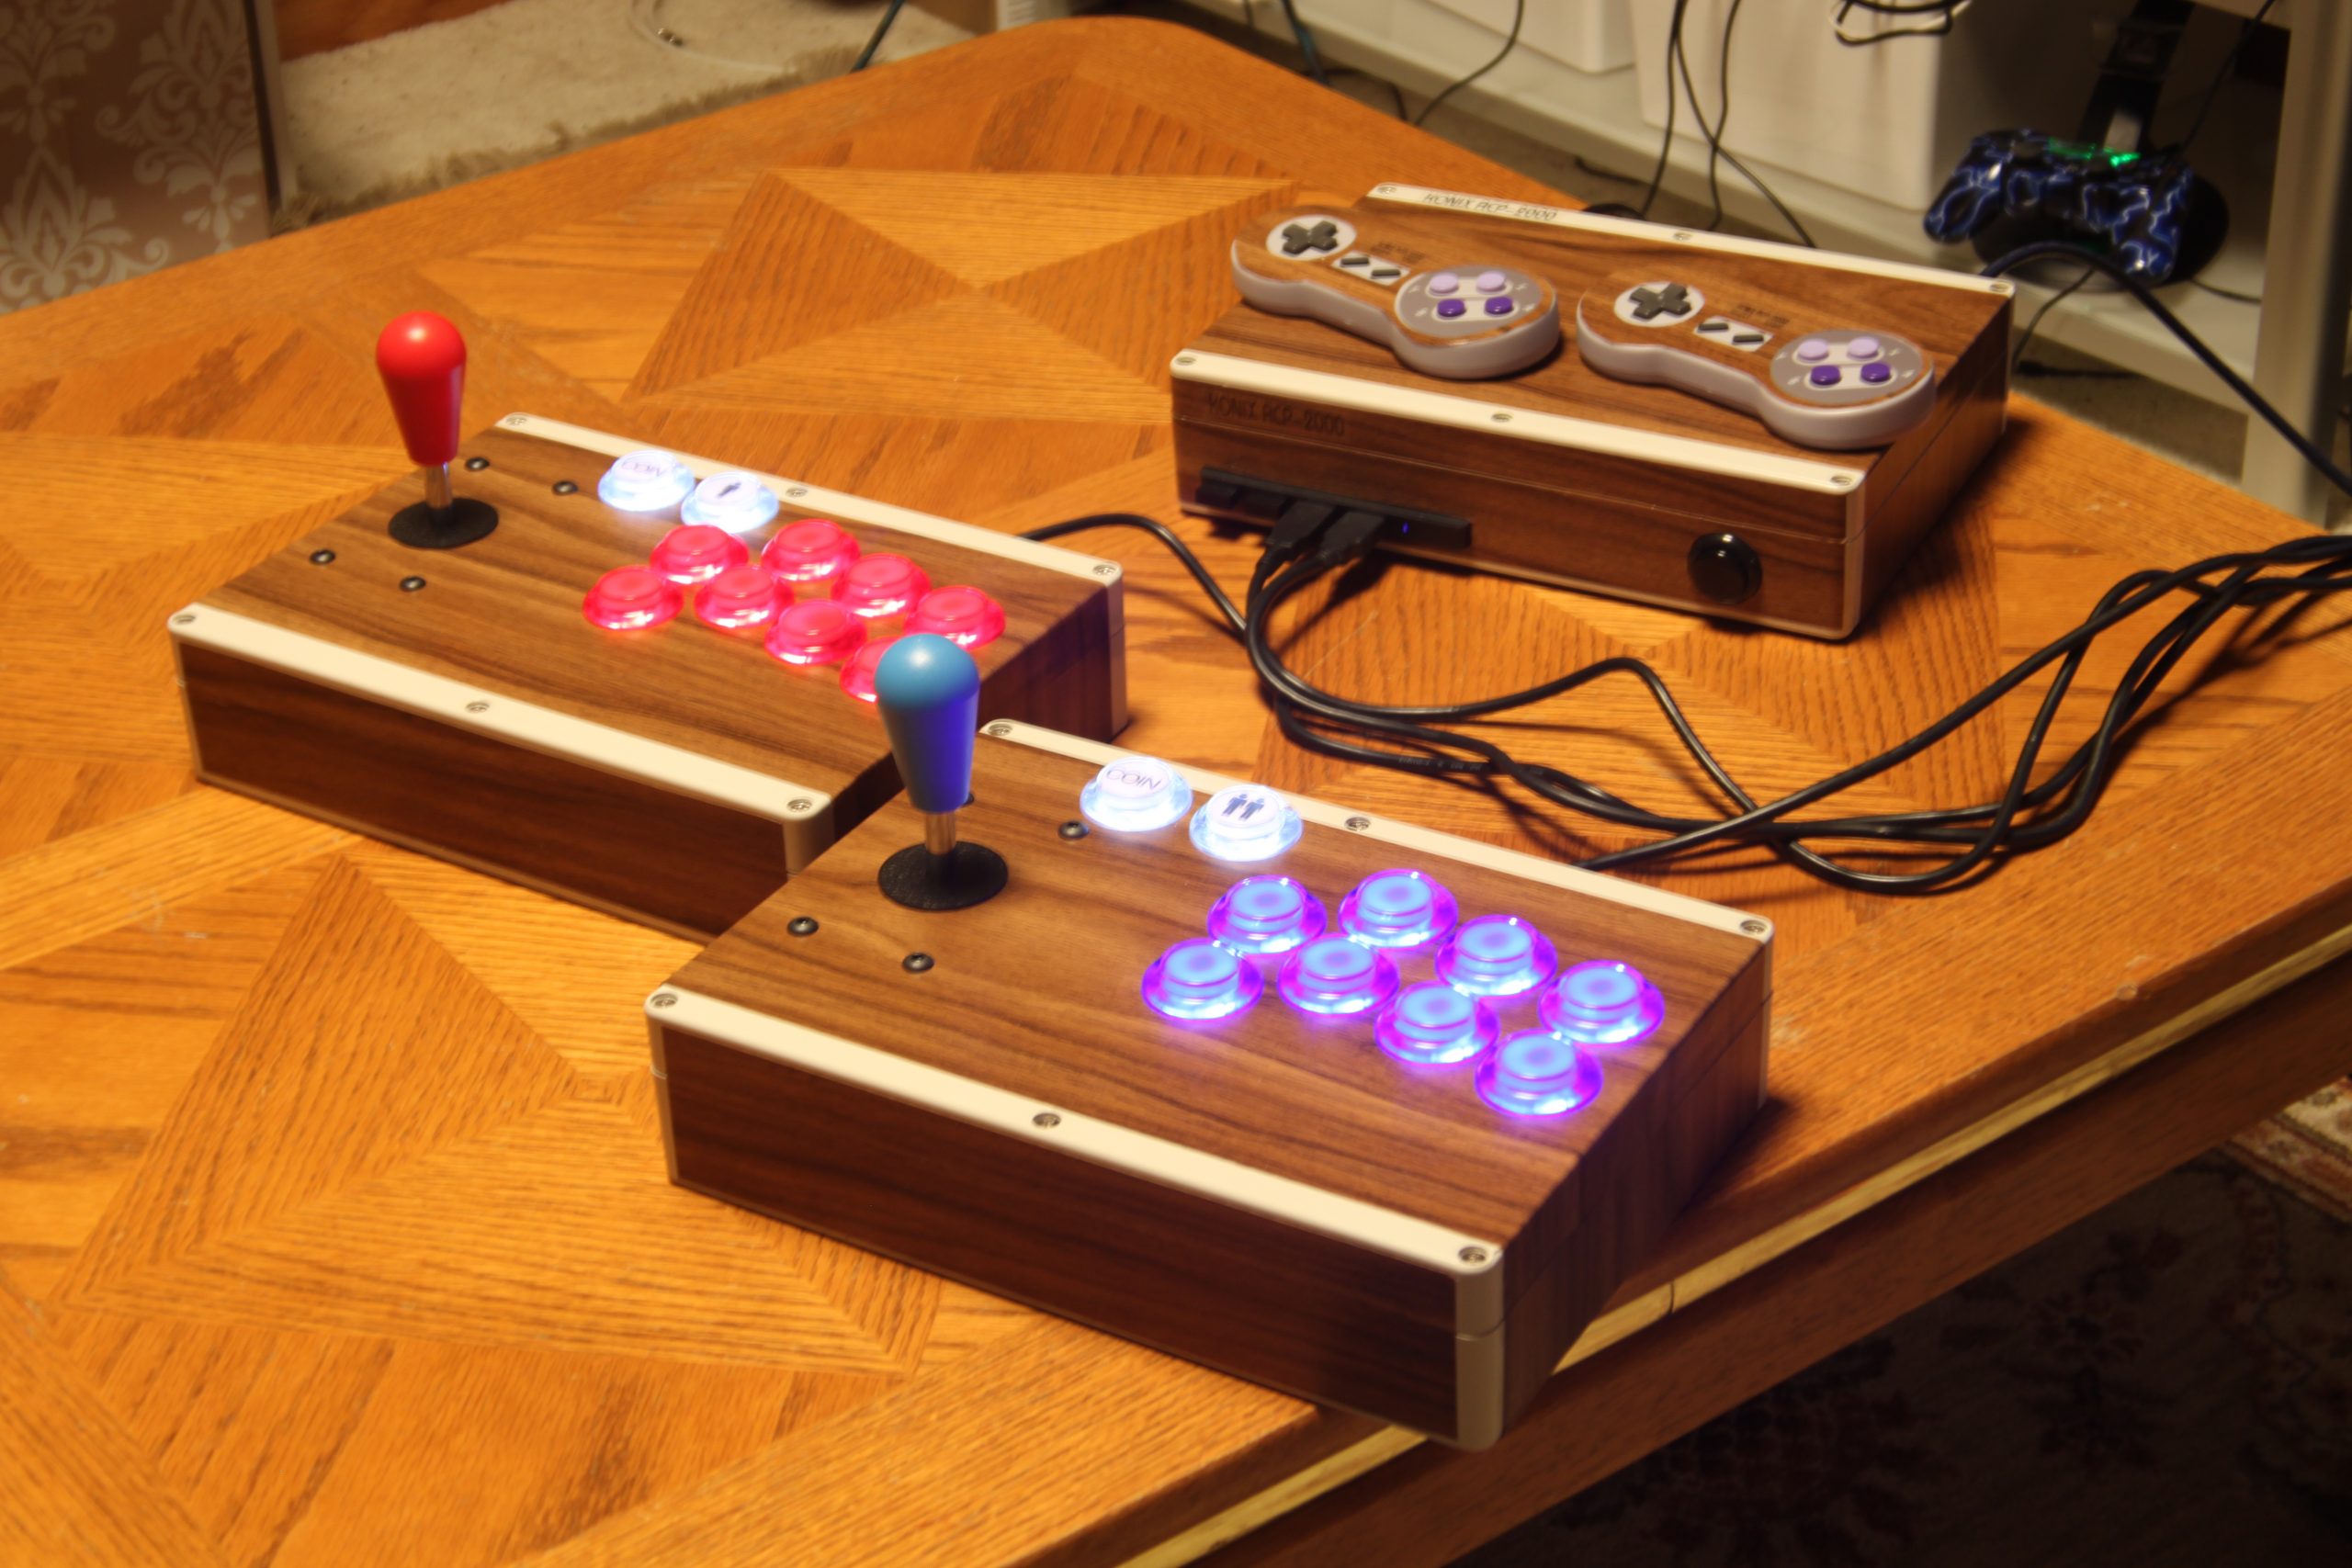
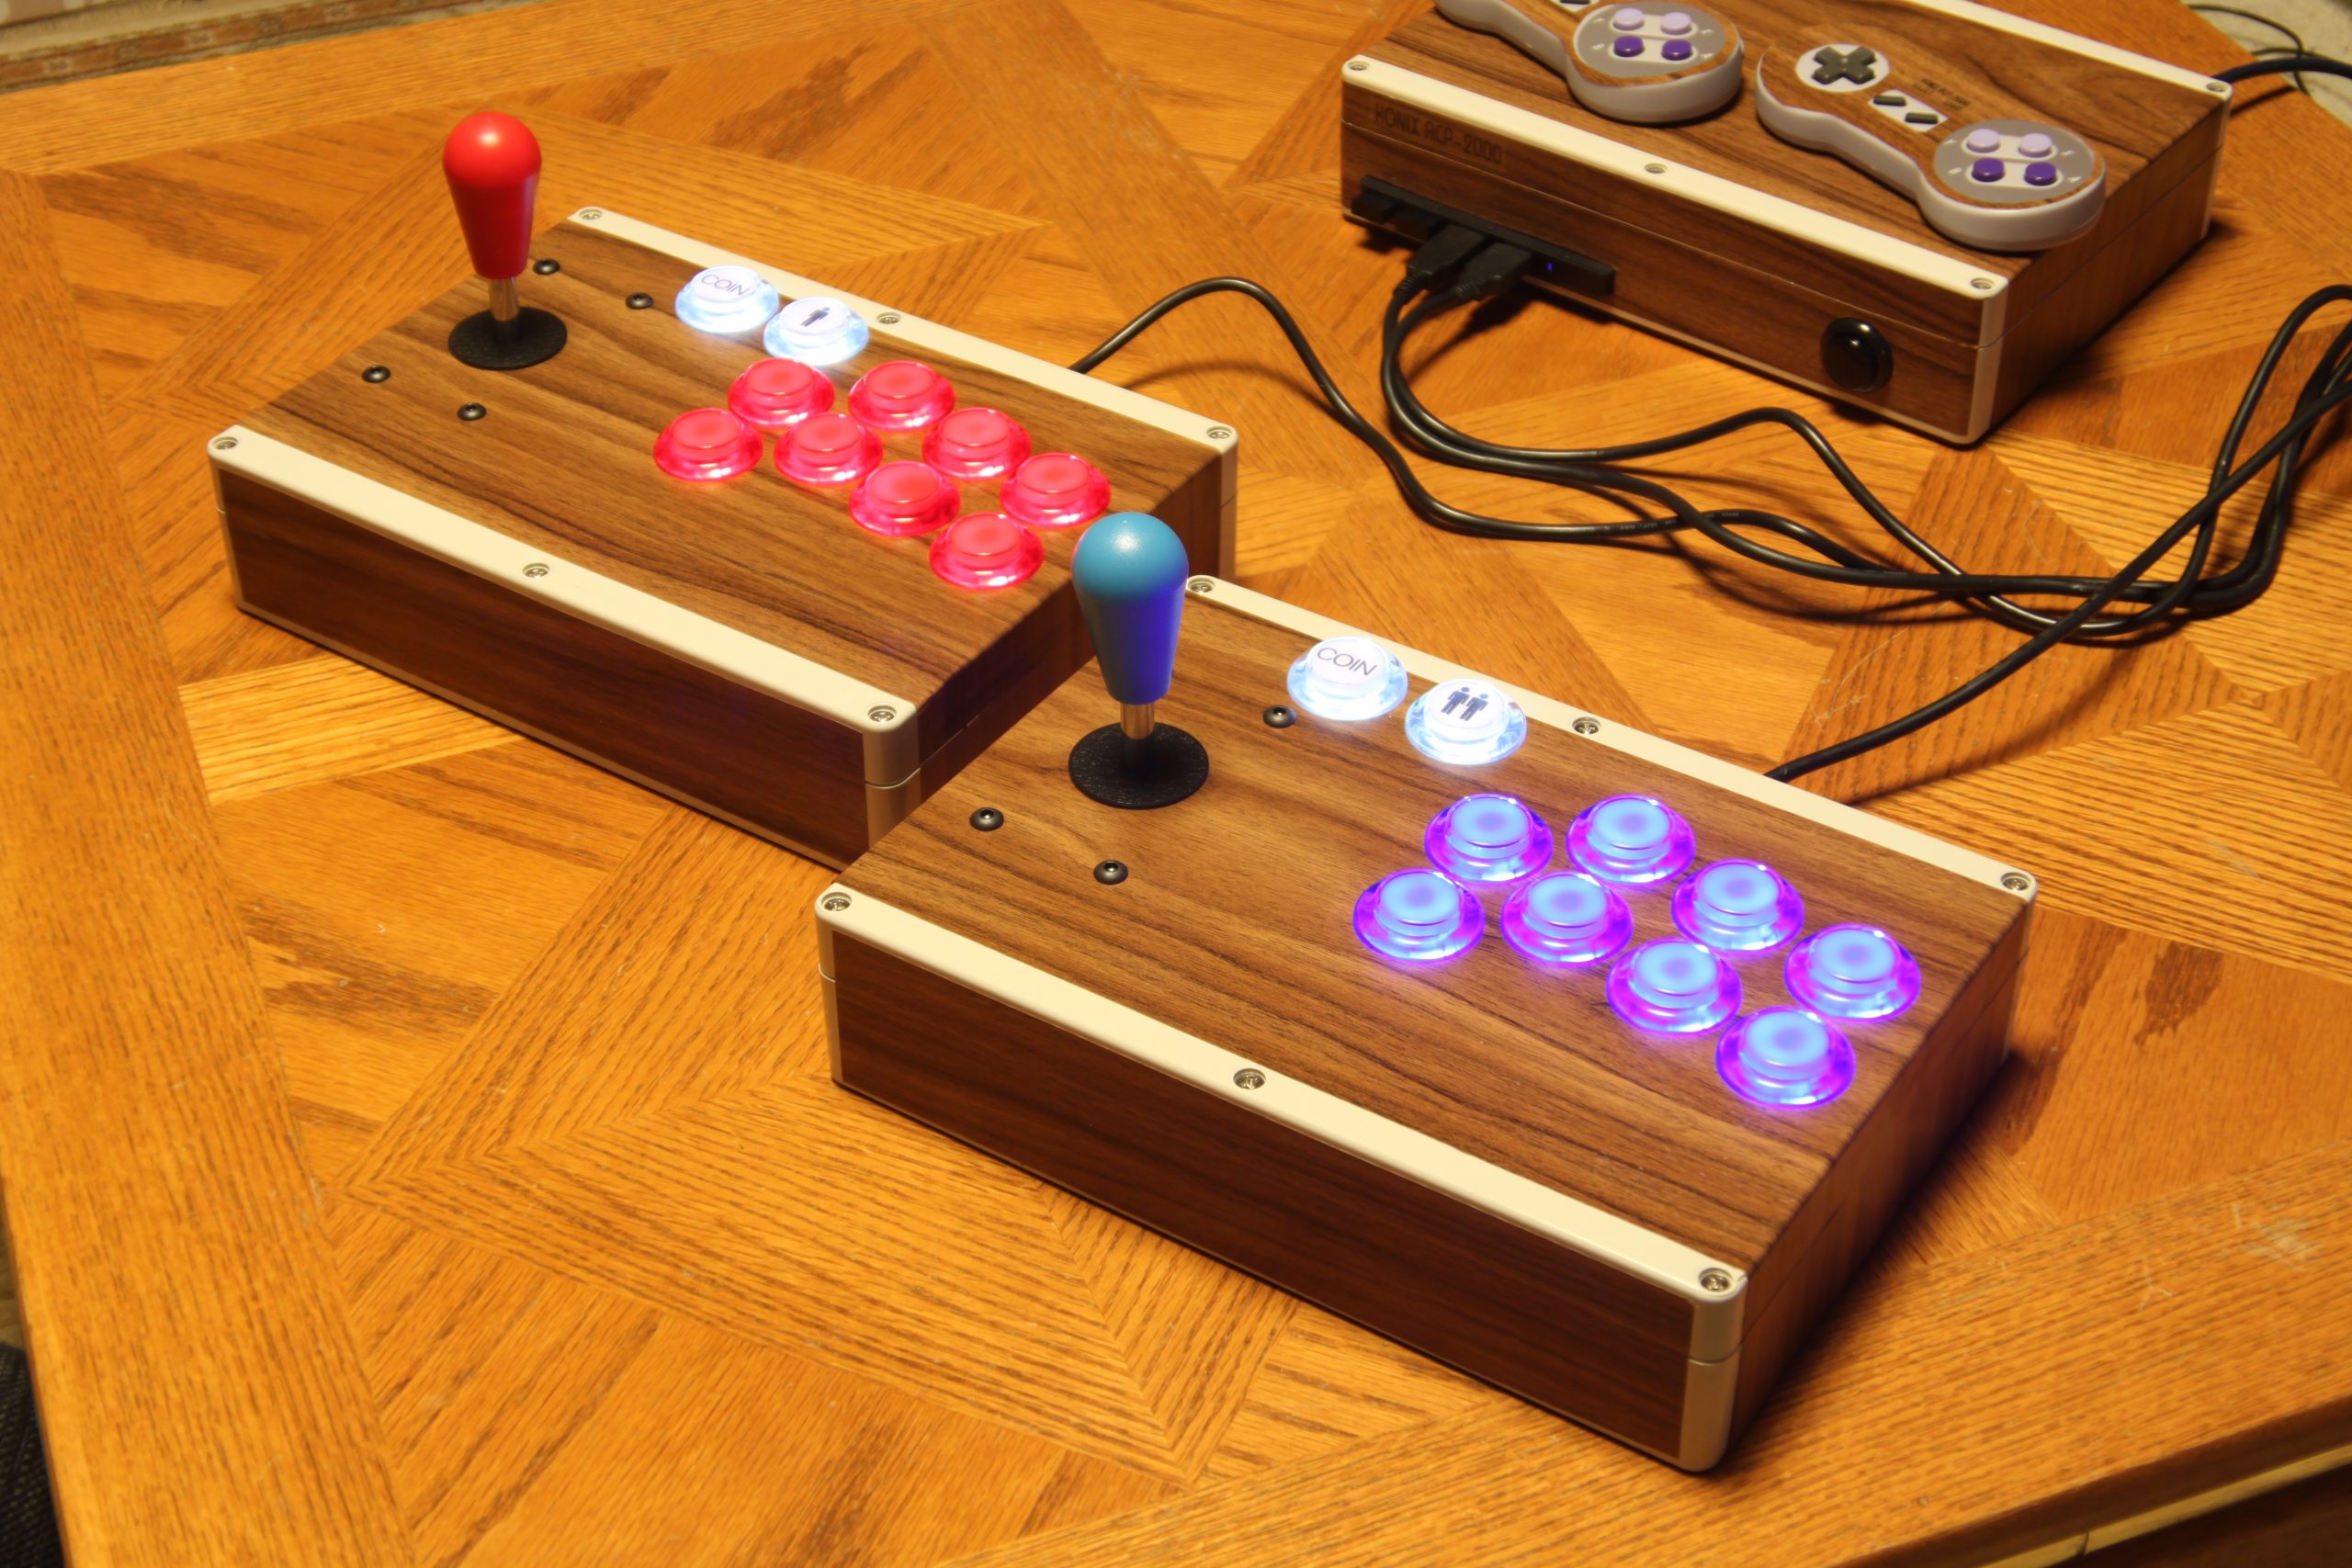
Please send me new orders :-)

You know what, working on projects helps me more than not working on them.  Please send me whatever ideas that pop to mind.  Do you have an ancient console that no one else will touch?  I am here to help.  Do you want a custom Raspberry Pi system built into a cigar box?  Let me know.  Would you like a custom controller for ANY system EVER made?  Give me a buzz at retro at cyberphreak.com or post/message me on Facebook: https://www.facebook.com/RetroCyberphreak/

Or, if Facebook is not your thing, you can tweet at me @Cyberphreak_Com https://twitter.com/Cyberphreak_Com

Or request a quote.  I truly do enjoy working on old hardware and creating new.


I will not be taking any more orders at this time.  Any order already received will be completed in a timely manner.

I just wanted to let you know, I hope this is not permanent.  I am working through some personal issues, and I wanted to thank all of my loyal patrons that enjoy my work.

I don’t foresee this delaying any projects that I have on hand, but I need a little break before taking on any new orders.  Thank you for your understanding and patience.

-David Nelson

April 30, 2018

Quotes

In case you are looking for a custom modification or repair, please use the quote form below.

Game Boy Advance Backlit Screen

As always, my younger brother loves to throw new projects at me, in this case, a Gameboy Advance, AGB-001, aka, the one with the useless color screen.  Previously, someone had installed a frontlight, that was way too bright and uneven.  Fortunately, you can install the screen from the Gameboy Advance SP, second generation, with a little plastic modification.  There are many sites that detail how to do it yourself, or I can do it for you, *wink*.

Thankfully, I actually have an x-y milling setup in my workshop, so modifying the housing was straightforward, but I don’t envy people who have to do it with nippers and a razor, yikes.  The results are pretty amazing, so much so, I purchased a GBA a few days ago to do the mod myself.  I like the form factor a lot and want to be able to play the gamut of Game Boy games on an amazing screen.  I posted a video above, on my own personal machine.

I am tempted to add a pre-modded GBA as a standard product.  Let me know in the comments if there is any interest.


Site Updates and New Projects Coming

I was able to return to my previous theme, “Mantra” after reading the freaking manual.  I have been working on repairing a Coleco Adam:  I replaced all the capacitors and added internal power supplies, so no more silly printer.  More details on that one later, along with another Jaguar to Colecovision controller conversion.

I am also working repairing an Emerson Arcadia 2000 for Classic Game Room, its got issues man.  That should be a fun write up.

I added one new product to the lineup of services, The famous McWill LCD mod for the Atari Lynx.  Not cheap, but amazing when it is done.

So, keep tuned, hopefully I will put up some new video content soon.


5200 Controller

Parts List:

Cable:  https://console5.com/store/neo-geo-aes-atari-5200-pc-controller-joystick-extension-cables-6-1-8m.html

Keypad:  http://www.ebay.com/itm/4-x-4-Matrix-Array-16-Keys-44-Switch-Keypad-Keyboard-Module-for-Arduino-/292157244585?hash=item4405edc4a9:g:eScAAOSwHLNZSGTI

Joystick:  https://www.amazon.com/gp/product/B00OS4U35G/ref=oh_aui_detailpage_o00_s00?ie=UTF8&psc=1

500k potentiometers:  http://www.ebay.com/itm/2Pcs-Mini-Pots-18mm-Split-Shaft-Audio-Taper-A500K-Electric-Guitar-Potentiometer-/192029611906?hash=item2cb5db5782:g:94kAAOSwZ8ZW4fY~

The 50K pots on the original joystick need to be replaced to be compatible with the 500K the 5200 is looking for.

Buttons:  http://www.ebay.com/itm/Genuine-OBSF-30-Black-Sanwa-Arcade-Push-Buttons-US-Seller-/252983141830?epid=11002785669&hash=item3ae6f865c6:g:iJwAAOSwiQ9ZOyb6

Case:  http://www.simcobox.com/150×75-desktop-plastic-enclosure.html

Case, in grey:  http://www.ebay.com/itm/200mmx170mmx65mm-ABS-Plastic-Electronic-Project-Junction-Box-Enclosure-Case-/352093166680?hash=item51fa635c58:g:wHkAAOSw0j9ZSNvm

Look for a 200x170x65mm case.

Schematic:


Atari 5200

I was successfully able to mod an Atari 5200, 4 port, original console. It was quite a challenge, but what I did discover is there are not many resources out there for modding the 5200. Below is a schematic of the circuit that worked for me:

PDF: 5200_s_vid_REV_B

For the mod I did, I went with composite out, but you can just as easily do S-Video out. This schematic is a mashup of http://www.gamesx.com/wiki/doku.php?id=av:5200_s-video_mod and http://atariage.com/forums/topic/193474-better-atari-5200-s-video-mod/

This version of the 5200 video out differs in one respect, I replaced the fixed 2K Ohm resistor on the Chroma line and replaced it with a 10K, 20 turn potentiometer. I found I was able to adjust this pot until noise was more or less eliminated from the composite video. It may not be needed with S-Video. Another adjustment is on the 5200 board. There is a large potentiometer in the lower right quadrant that is the color adjust. I loaded up Ballblazer and adjusted the colors to what I thought looked most accurate.

The connection points are as follows:

Thanks Atari Age!

A/V Port Mounted on expansion port cover.

Ballblazer. Color adjusted and you can see how clean the signal is over composite.

Composite output board, before mounting.

Closeup of A/V board.

My next project is to reverse engineer the 5200 controller to allow for the use of modern potentiometer based control sticks.
Here is the analog stick:

Sega Master System

Working on restoring a Sega Master System, original US release.

I am replacing all the electrolytic capacitors, adding s-video output, and FM sound board.

Video Blog, Day 1:

My Konix RCP

About a year ago, a con man by the name of Mike Kennedy was selling the idea of the Retro VGS (Video Game System), which later morphed into the Coleco Chameleon. It was all fun and games until the New York Toy Fair, then the gig was up.  It did get me thinking:  I have made quite a few retrofit systems, like the Genesis, Lynx, and even a Game.com, what would I do with a blank slate design for a retro arcade/home console system?  My inspiration was the ill fated Konix Multisystem.  The Konix was supposed to way ahead of its time, and like my Konix, the system and controller would be one unit.

My criteria:

  • True arcade style controller, meant to fit adult sized hands.
  • Portable, battery powered, 4+ hours battery life.
  • No screen, HDMI output only, similar to ‘plug and play’ system in a controller.
  • Rugged construction, able to stand up to hours of play.
  • Ability to play single button games, such as early 8 bit, right handed.
  • Based on Raspberry Pi/RetroPie.
  • Have at least 2 available USB ports for other controllers.

So, behold, my Konix RCP (Retro Computing Platform):


Pretty isn’t it? Since this is a clean sheet design, I didn’t have to worry about trashing a repairable system, or finding space in a tiny system.  The enclosure is 8x6x2″ ABS with aluminium ends.  This gives it a slightly retro, but very clean look, reminds me of the old Atari 7800 and 2600 jr.  I purchased 2 sets of joysticks, one black, one red, so I could mix and match colors, and it allowed me to make a second controller.

Inside is nothing too special:

It is a Raspberry Pi, a USB joystick controller, cell phone charger, a couple of port extenders, on/off switch. and the physical joystick and buttons.  It is similar to my RetroGenesis, except for the fact this is a new design and it is portable, without a screen.


As you can see, the front has all of the needed ports, HDMI, 2 USB, “B” charge port and Internal Pi/Joystick toggle.  In joystick mode, you can plug into the “B” style usb port and use the system as a joysticks and charge the internal battery. When toggled to Internal Pi mode, RetroPie boots up and the system is a full emulation system with about 17,000 games loaded.

The back, which faces the user, has three buttons. The left, red, button is a dedicated escape key while playing arcade games. The black ones are start/select, or coin 1 and player 1 start.

As a personal preference of mine, I added a fire button to allow for right handed play of single player games, like for the 2600 or many older arcade games, including my favorite, Super Pacman.

I am happy to report that my brother and I played this system for over 4 hours on one charge and finished Cadillacs and Dinosaurs for the arcade using this system without a hiccup.

If you would like the button and system layout, here is the an Autocad/Draftsight 2013 drawing of the layout. Konix_RCP in 1:1 PDF format.